
Reclaimed teak lumber is an excellent choice for woodworking projects due to its durability, unique look, and environmental benefits. It’s often sourced from old buildings, boats, or furniture, giving it a rich history and a distinct character that new wood simply can’t replicate. However, working with reclaimed teak can be a bit more challenging than using fresh wood. In this guide, we’ll walk you through the process of working with reclaimed teak, from cleaning and prepping to cutting and finishing.
1. Source Reclaimed Teak Lumber
The first step is sourcing reclaimed teak. You can find it at local salvage yards, architectural salvage stores, or online. When purchasing reclaimed teak, keep an eye out for:
- Condition: Ensure the wood is structurally sound, free from deep cracks, or signs of rot.
- Source: Find out where the teak is coming from—whether it’s from old boats, furniture, or buildings. The history of the wood can affect its character and appearance.
- Size: Make sure the pieces of wood are large enough for your intended project. Reclaimed teak can sometimes be in odd sizes or shapes, so plan accordingly.

2. Clean and Inspect the Teak
Before you can start working with reclaimed teak, it’s important to clean and inspect the wood. Over time, reclaimed teak may have accumulated dirt, dust, and old finishes that need to be removed.
Steps to Clean Reclaimed Teak:
- Scrub with a mild cleaner: Use a gentle wood cleaner mixed with warm water to remove dirt and grime. Avoid harsh chemicals that could damage the wood.
- Use a wire brush: For stubborn dirt or mold, use a wire brush to scrub the surface of the teak. Be careful not to damage the wood’s surface.
- Sanding: After cleaning, use sandpaper (around 120-grit) to smooth out the surface and remove any leftover finish, old paint, or stains.
- Dry thoroughly: After cleaning and sanding, let the wood dry completely before proceeding to the next steps.
Inspecting the Wood:
- Check for any signs of rot, pests, or cracks that might affect the integrity of the wood. If there are small cracks, you can often repair them with wood filler, but larger issues may require the wood to be discarded.
- Look for nails, screws, or other fasteners that may still be embedded in the wood. Remove these carefully to avoid damaging your tools.
3. Cut and Shape the Teak
Reclaimed teak can be harder and denser than fresh lumber, which can make it more difficult to cut and shape. Here’s how to tackle cutting and shaping reclaimed teak:
Tools You’ll Need:
- Circular saw or miter saw: These tools will help you cut through the thick, dense teak efficiently.
- Table saw: For straight, precise cuts, a table saw is a great option.
- Jigsaw: If you need to make curved cuts, a jigsaw will be your best friend.
Cutting Tips:
- Sharp blades: Make sure you use sharp blades when cutting reclaimed teak. Dull blades can create uneven cuts and damage the wood.
- Pre-drill holes: When screwing or nailing reclaimed teak, always pre-drill holes to prevent splitting. This is especially important since reclaimed teak can be harder and denser than new teak.
- Measure twice: Always double-check your measurements before cutting to avoid mistakes. Reclaimed teak can be more expensive and harder to find, so you want to avoid waste.
4. Sanding and Smoothing
After cutting and shaping, the next step is sanding the reclaimed teak. Sanding will help remove rough edges, smooth out surfaces, and prepare the wood for finishing.
Sanding Process:
- Start with a coarse grit: Begin with a 60 or 80-grit sandpaper to remove any rough spots or old finish. Be sure to sand in the direction of the grain to avoid scratching the wood.
- Use medium grit: After the rough spots are gone, switch to a medium grit (120-grit) to smooth the wood further.
- Finish with fine grit: Finally, finish the sanding process with a fine-grit sandpaper (180-220 grit) for a smooth, professional-looking finish.
- Dust removal: After sanding, make sure to wipe the wood down with a damp cloth to remove any dust or particles left behind.
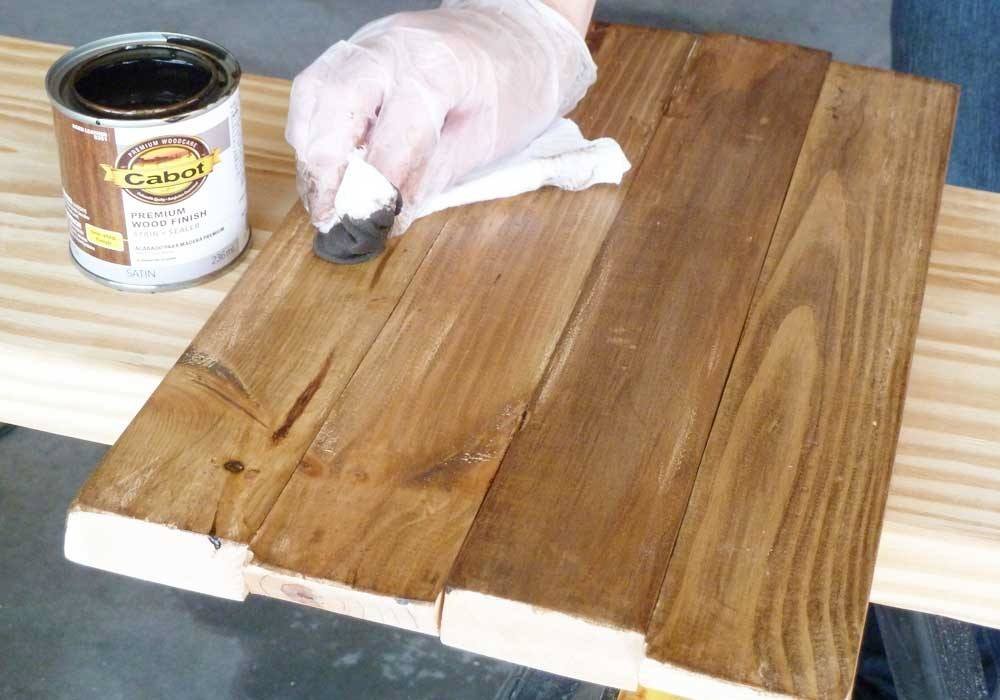
5. Apply a Finish
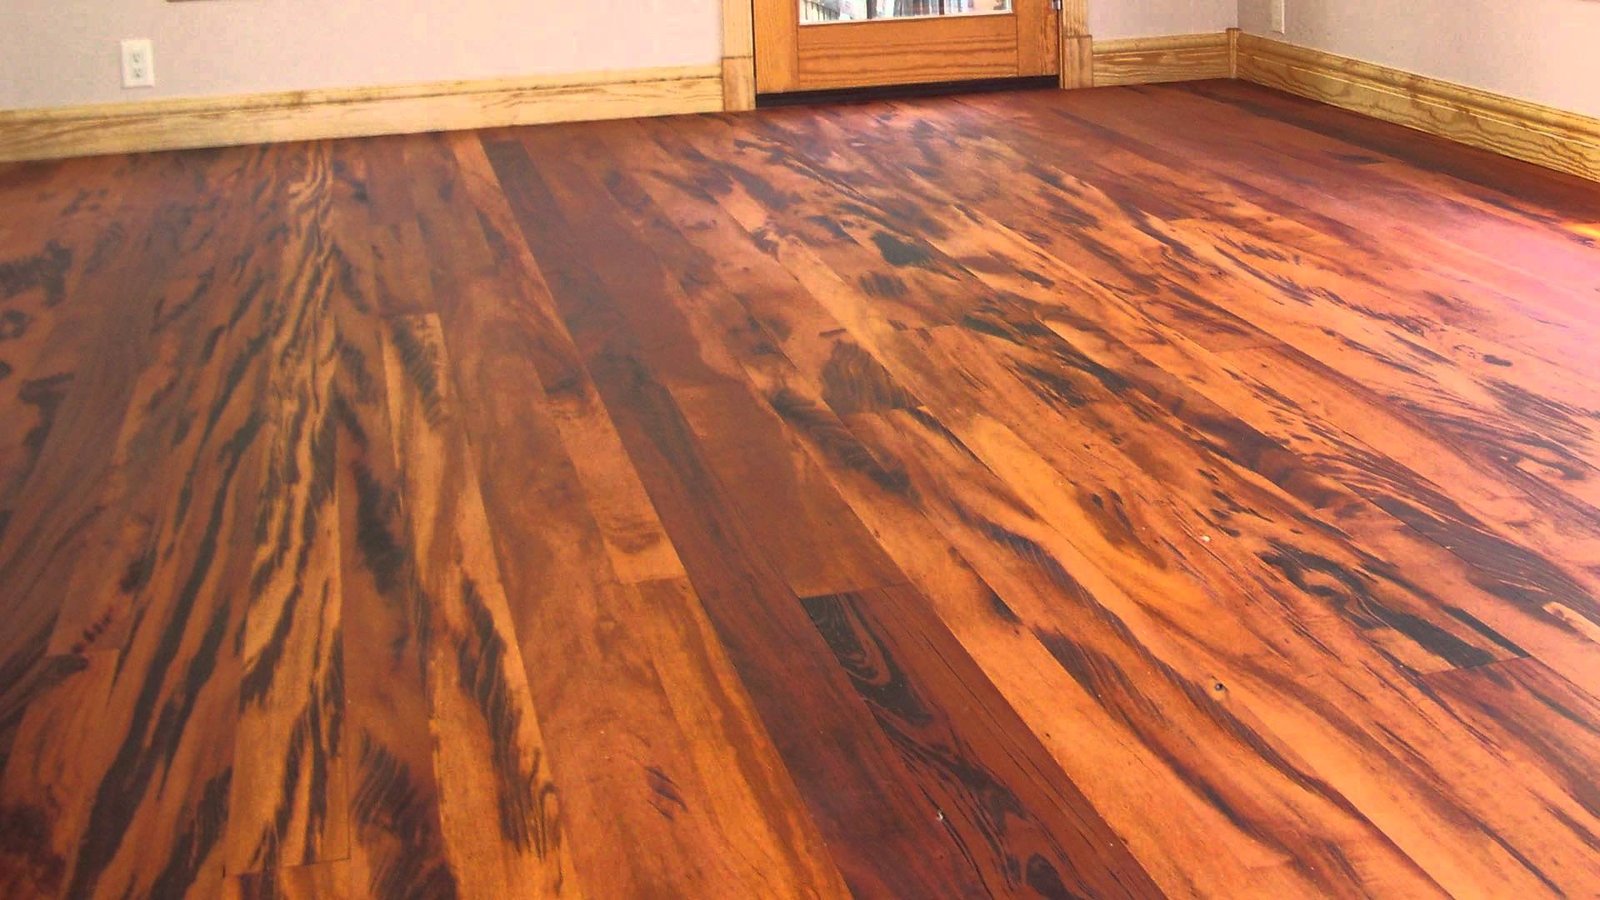
Reclaimed teak has a beautiful natural color and grain, but it can benefit from a protective finish to enhance its appearance and protect it from wear and moisture. The finish you choose will depend on the look you want and the project’s intended use.
Types of Finishes:
- Oil-based finishes: Teak oil is a popular choice for preserving the rich color of reclaimed teak. It enhances the natural grain and provides protection against moisture. Apply several coats for the best results.
- Polyurethane: If you’re looking for a stronger, more durable finish, polyurethane is a good choice. It creates a hard, protective layer that’s resistant to scratches and water.
- Varnish: For a glossy finish, you can use a varnish. It provides a durable layer of protection while giving your teak a shiny, polished look.
- Beeswax or paste wax: For a more natural look, beeswax or paste wax can be applied. These provide a soft sheen and help protect the wood while allowing the natural look of the teak to shine through.
How to Apply:
- Clean surface: Make sure the surface is clean and free of dust before applying any finish.
- Use a brush or cloth: Apply the finish using a clean brush or cloth, following the grain of the wood. Allow each coat to dry before applying the next.
- Buffing: After the final coat dries, buff the surface lightly with a soft cloth to achieve a smooth, even sheen.
6. Repair and Restore as Needed
Reclaimed teak often has a unique character with signs of wear, including dents, scratches, or small cracks. These imperfections can add charm and personality to your project, but in some cases, you may want to restore or repair the wood.
Repairing Cracks or Holes:
- Wood filler: For small cracks or holes, you can use wood filler or epoxy to fill the gaps. Once the filler dries, sand it smooth and blend it into the surrounding wood.
- Wood patching: If you need to replace a large section of damaged teak, you can cut a new piece of reclaimed teak to fit the area, then secure it with wood glue or screws.
7. Consider the Project’s Purpose
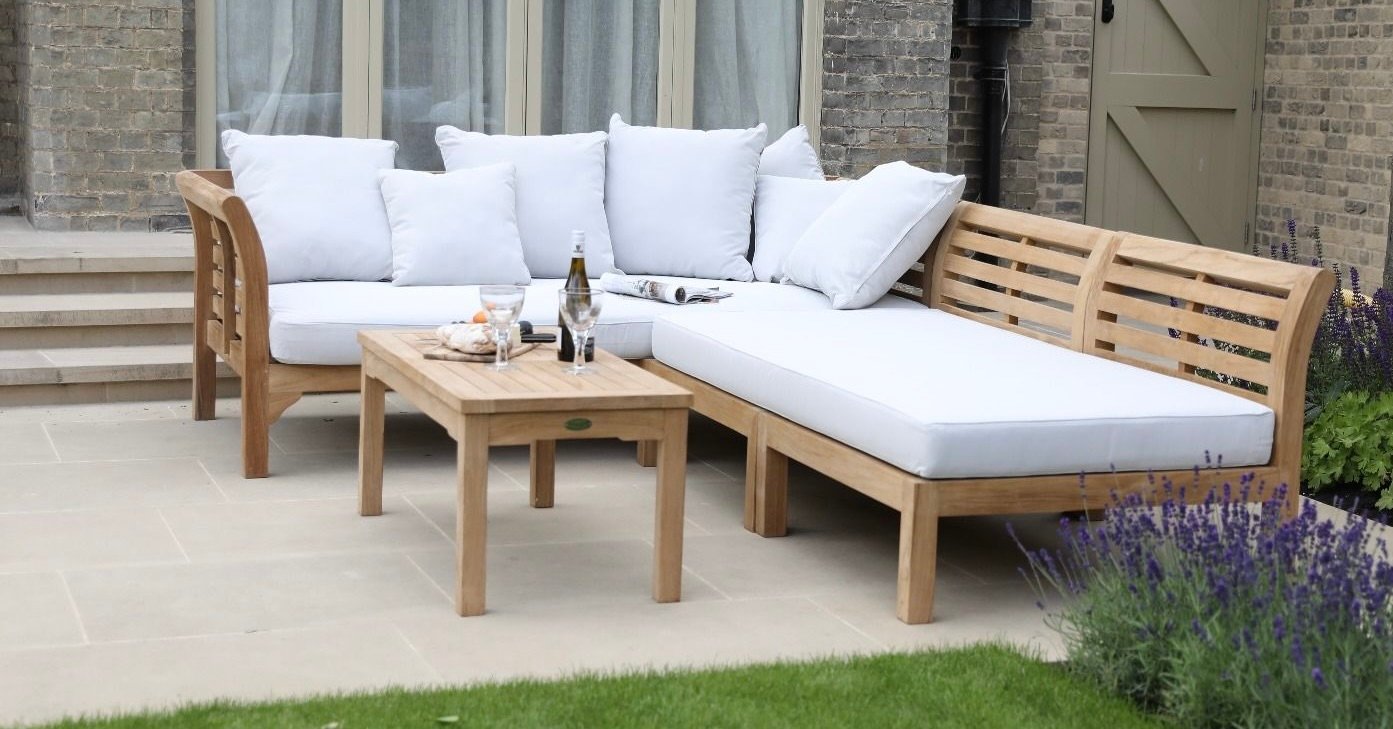
Reclaimed teak is perfect for a variety of projects, from furniture to home decor. However, it’s essential to consider the intended use of the project when deciding how much work to put into restoring the wood. For example:
- Furniture: For furniture, you’ll want to ensure the wood is smooth and the finish is durable, as it will likely see regular use.
- Decorative Items: If you’re using reclaimed teak for decorative items, you may want to leave more of the wood’s natural imperfections for character.
- Outdoor Projects: If your project will be used outdoors, such as a deck or garden furniture, consider using a weather-resistant finish that will protect the teak from moisture and UV rays.
Conclusion
Working with reclaimed teak lumber can be a rewarding experience, offering both environmental benefits and a unique aesthetic for your woodworking projects. With proper preparation, careful cutting, sanding, and finishing, you can turn reclaimed teak into a stunning, durable creation. Whether you’re building furniture, decking, or simply restoring a piece of history, reclaimed teak adds character and charm that no new wood can replicate.