Wooden boats require regular maintenance to stay in good condition. Over time, they can suffer from wear and tear, including cracks, rot, or damaged planks. Learning how to repair wooden boats effectively can save you money and extend your boat’s lifespan. In this guide, we’ll walk you through the essential steps, tools, and tips to restore your wooden boat to its original glory.

Inspect the Damage Thoroughly
The first step in repairing a wooden boat effectively is conducting a thorough inspection. Carefully examine the boat for any signs of damage, such as cracks, rot, or loose planks. Pay special attention to areas exposed to water for extended periods. Identifying all problem areas early helps you plan your repairs efficiently.
- Look for soft or discolored wood, which may indicate rot.
- Check seams and joints for gaps or separation.
- Inspect fasteners and screws for rust or corrosion.
Gather the Right Tools and Materials
To repair your wooden boat effectively, you need the correct tools and materials. Using high-quality supplies ensures your repairs will last longer. Some essential items include:
- Marine-grade epoxy for sealing cracks and joints.
- Wood filler for filling small holes or gaps.
- Replacement wood planks for extensive damage.
- Sandpaper and an orbital sander for smoothing surfaces.
- Paint or varnish to protect the wood after repairs.
Having everything ready before you start will save you time and frustration.
Remove Damaged Wood
If your inspection reveals rotten or severely damaged wood, you must remove it. Use a chisel or saw to cut away the affected areas carefully. Removing damaged wood is critical to prevent the problem from spreading further.
- Cut out all soft or rotted wood until you reach solid, healthy material.
- Ensure the edges of the repair area are smooth for better adhesion.
- Dispose of the damaged wood properly to avoid contaminating your workspace.
Replace and Reinforce Planks
For large areas of damage, replacing planks is often necessary. Measure the area carefully and cut new wood planks to fit. Use marine-grade wood to ensure durability and resistance to water damage.
- Secure new planks with screws, nails, or adhesives.
- Reinforce the repair by using braces or clamps while the adhesive sets.
- Sand the repaired area to ensure a seamless finish.
Fill Cracks and Gaps
For smaller cracks and gaps, use wood filler or marine-grade epoxy. These materials provide a watertight seal, preventing further damage.
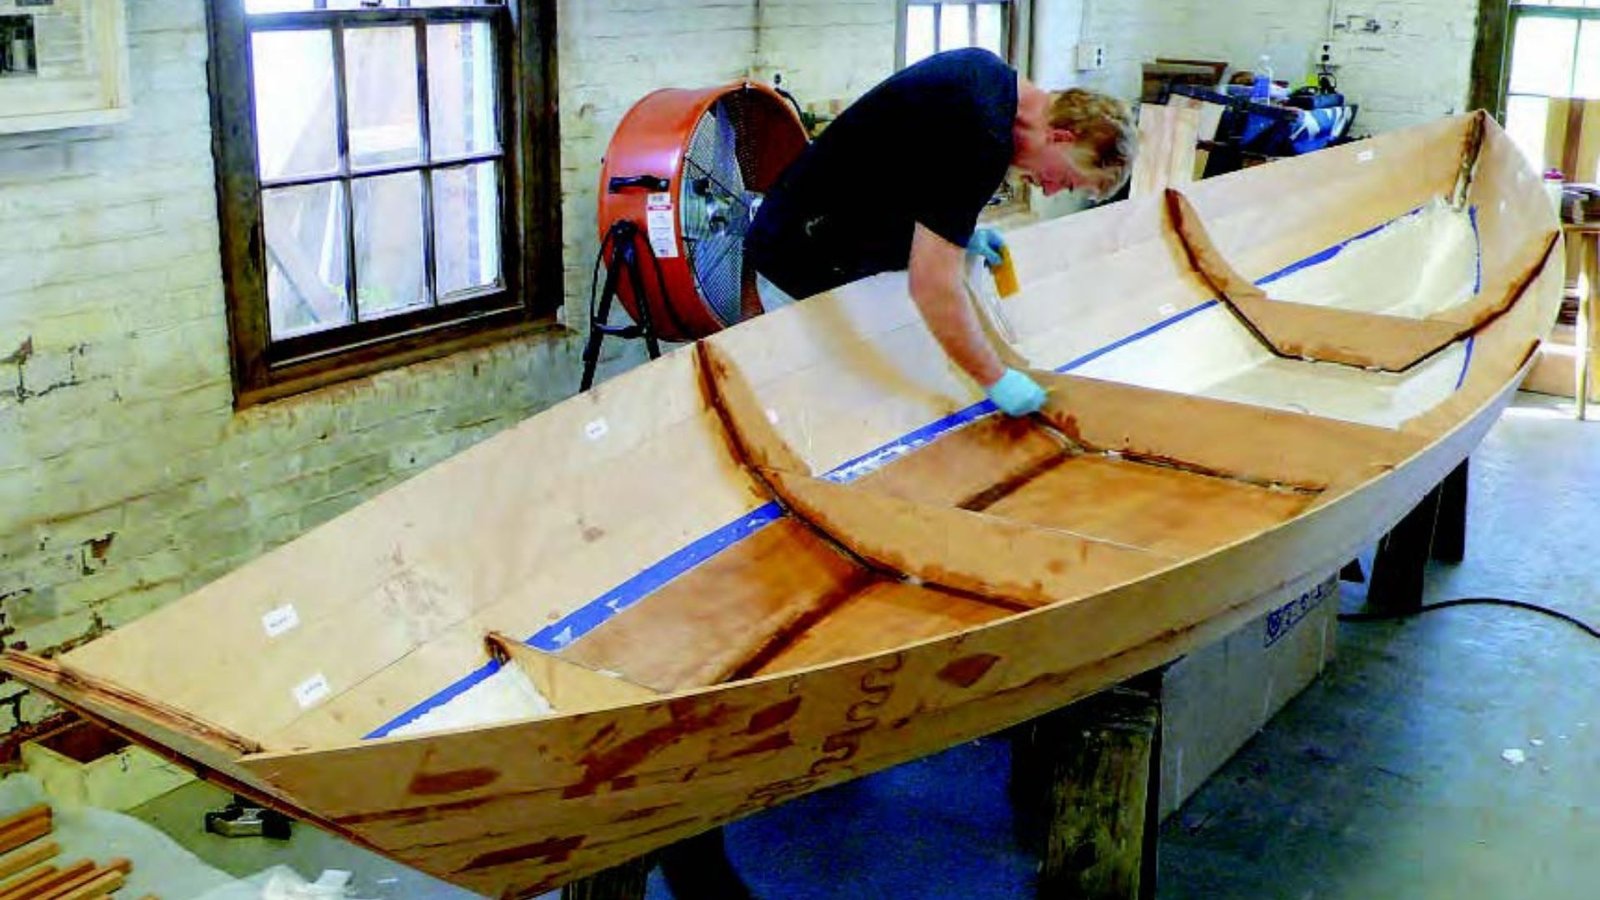
- Apply the filler or epoxy evenly, pressing it into the cracks.
- Smooth the surface with a putty knife or scraper.
- Allow the filler to cure completely before sanding.
Sand and Refinish the Surface
After completing the structural repairs, it’s time to sand and refinish the surface. Sanding helps create a smooth, even finish while preparing the wood for paint or varnish.
- Use coarse sandpaper to remove rough edges, followed by finer grit for a polished finish.
- Clean the surface to remove dust or debris before applying any finish.
- Apply a marine-grade paint or varnish to protect the wood from water and UV damage.
Prevent Future Damage
Repairing your wooden boat is only part of the process. Taking steps to prevent future damage will save you time and effort in the long run.
- Apply a fresh coat of varnish annually to protect against moisture.
- Store your boat in a dry, covered area when not in use.
- Inspect your boat regularly for signs of wear or damage.
Conclusion
Repairing a wooden boat effectively requires careful planning, the right tools, and attention to detail. Start by inspecting the damage, gather the necessary materials, and remove any damaged wood. Replace planks, fill cracks, and sand the surface before refinishing with a protective coating. Regular maintenance and preventive measures will help your boat stay in great shape for years to come. With the proper techniques, even major repairs can be manageable and rewarding.


