


")
Installing hardwood flooring can be a rewarding DIY project, transforming your space with the timeless beauty and warmth that only wood can provide. While it may seem like a complex task, with the right tools, materials, and guidance, you can install hardwood floors like a professional. In this guide, we’ll walk you through the steps to ensure a smooth and successful hardwood floor installation.
1. Prepare Your Space
Before you dive into the installation process, it’s important to prepare your space properly. A little prep work will go a long way in ensuring a smooth installation.
- Clear the Room: Remove all furniture, baseboards, and existing flooring.
- Acclimate the Hardwood: Allow the hardwood planks to acclimate to the room’s temperature and humidity. Lay the planks flat in the room for at least 48 hours before installation.
- Clean the Subfloor: Sweep and vacuum the subfloor to remove any dirt, debris, or nails. If you’re installing on a concrete subfloor, make sure it’s dry and level.
2. Gather Your Tools and Materials
Having the right tools and materials is essential for a professional-looking hardwood floor installation. Here’s what you’ll need:
- Hardwood planks
- Underlayment (if needed, especially for floating floors)
- Nails or staples (for nailed/stapled installation)
- Hammer or pneumatic nail gun
- Measuring tape
- Miter saw or table saw
- Chalk line
- Spacers
- Rubber mallet
- Pry bar
- Wood glue (optional)
- Level
3. Plan Your Layout
Before you begin laying down the first row of hardwood planks, plan out your layout to ensure the best visual effect.
- Find the Center: Use a measuring tape and chalk line to find the center of the room. This will help you install the planks symmetrically.
- Decide on the Direction: Typically, hardwood planks should be installed perpendicular to the longest wall or the main light source in the room. This creates a more visually appealing effect.
- Dry Lay the Planks: Lay a few rows of planks without securing them to get a sense of how they’ll look and ensure they fit well.
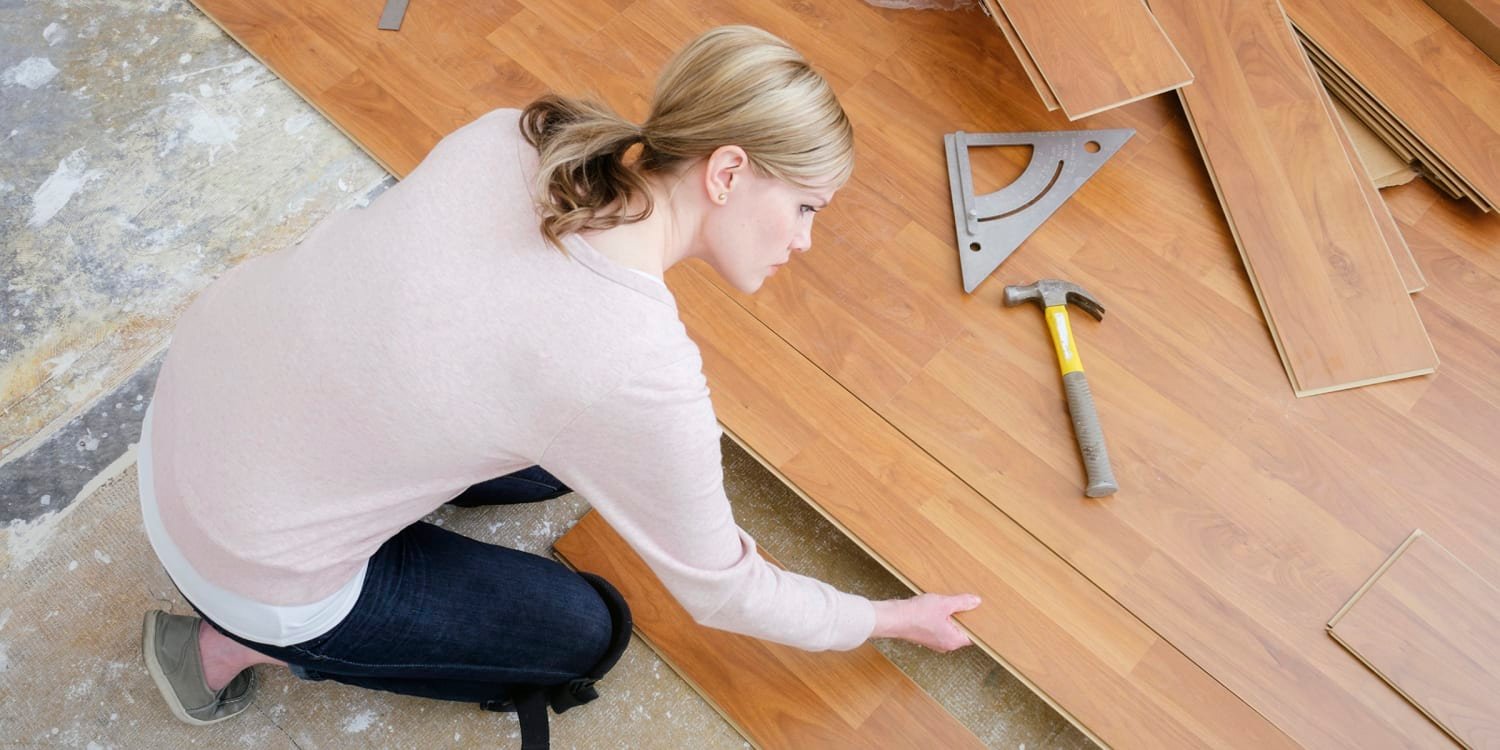
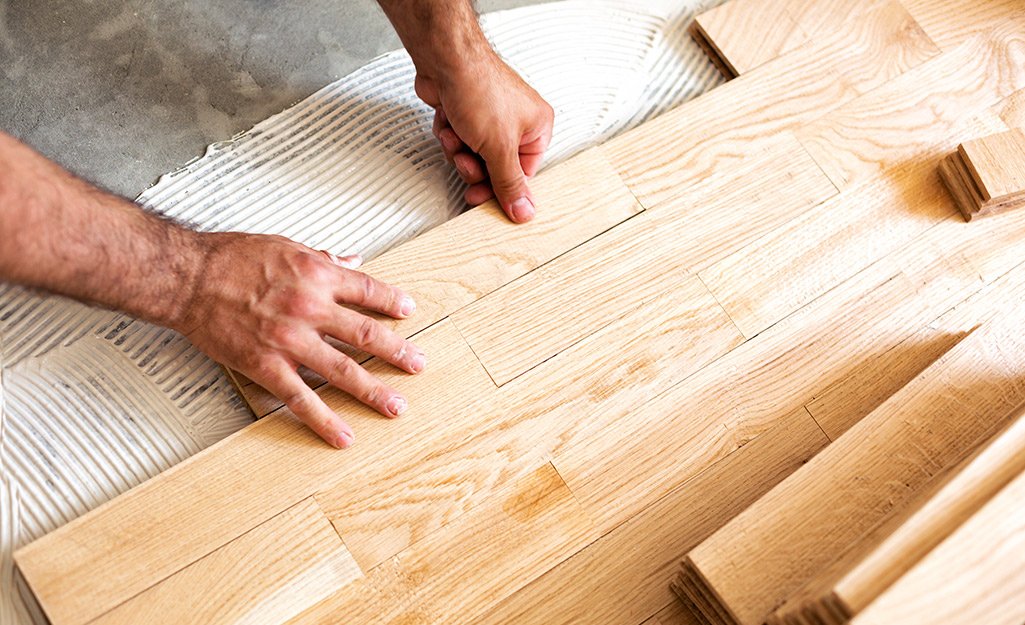
4. Install the First Row
The first row is critical as it sets the foundation for the rest of the floor installation. If this row is not straight, your entire floor could end up being uneven.
- Place the Planks: Start at the wall and lay the first row of planks, leaving a small gap (about ¼ inch) between the planks and the wall. This allows for expansion as the wood adjusts to the room’s humidity.
- Use Spacers: Place spacers between the planks and the wall to maintain the gap.
- Secure the Planks: Depending on your hardwood type, you can either nail the planks to the subfloor using a hammer and nails or use a pneumatic nail gun. For tongue-and-groove planks, secure the nails through the tongue at a 45-degree angle.
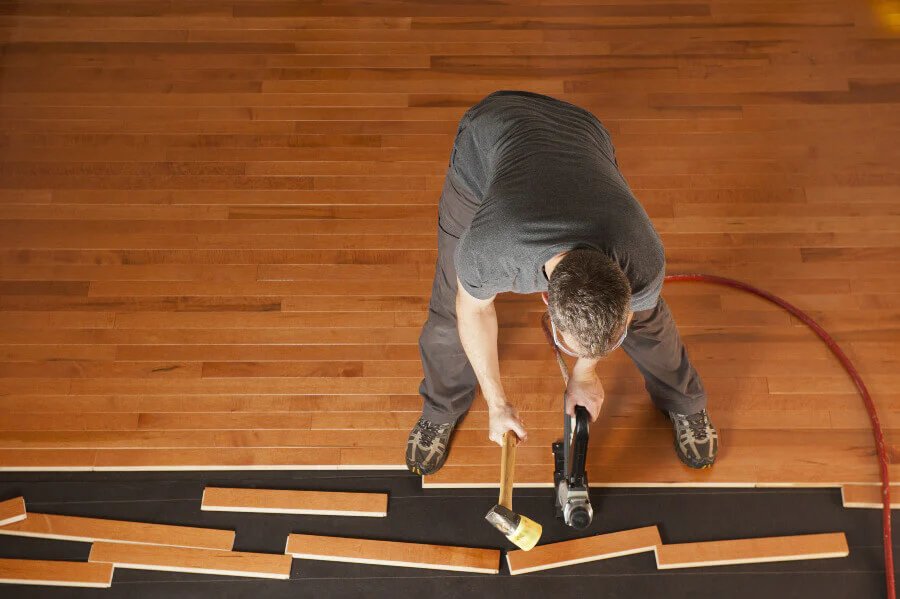
5. Continue Laying the Planks
Once the first row is secure, continue laying the next rows of hardwood flooring.
- Stagger the Joints: Stagger the end joints between rows to create a more natural, seamless look. The joints should not align in consecutive rows.
- Connect the Planks: For tongue-and-groove planks, simply slide the groove of the new plank onto the tongue of the previous plank. Use a rubber mallet to tap the planks into place if necessary.
- Nail or Staple the Planks: For nailed or stapled installations, use your pneumatic gun or hammer to secure each plank to the subfloor.
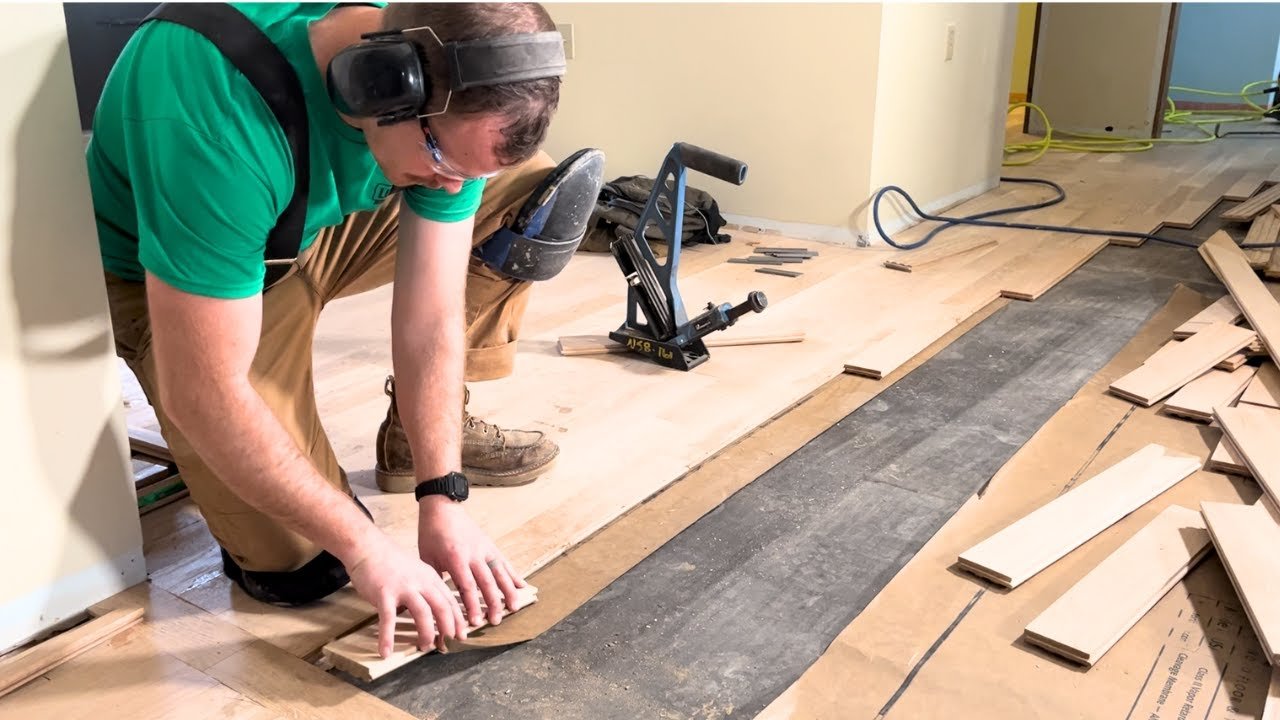
6. Cut Planks to Fit
You will need to cut planks to fit around the edges of the room, door frames, and vents. Measure carefully and use a miter saw or table saw to make clean, accurate cuts.
- Measure Twice, Cut Once: Always measure carefully before cutting a plank to ensure the right fit.
- Cutting Around Obstacles: For obstacles like vents or door frames, use a jigsaw to cut the planks to fit precisely around the edges.
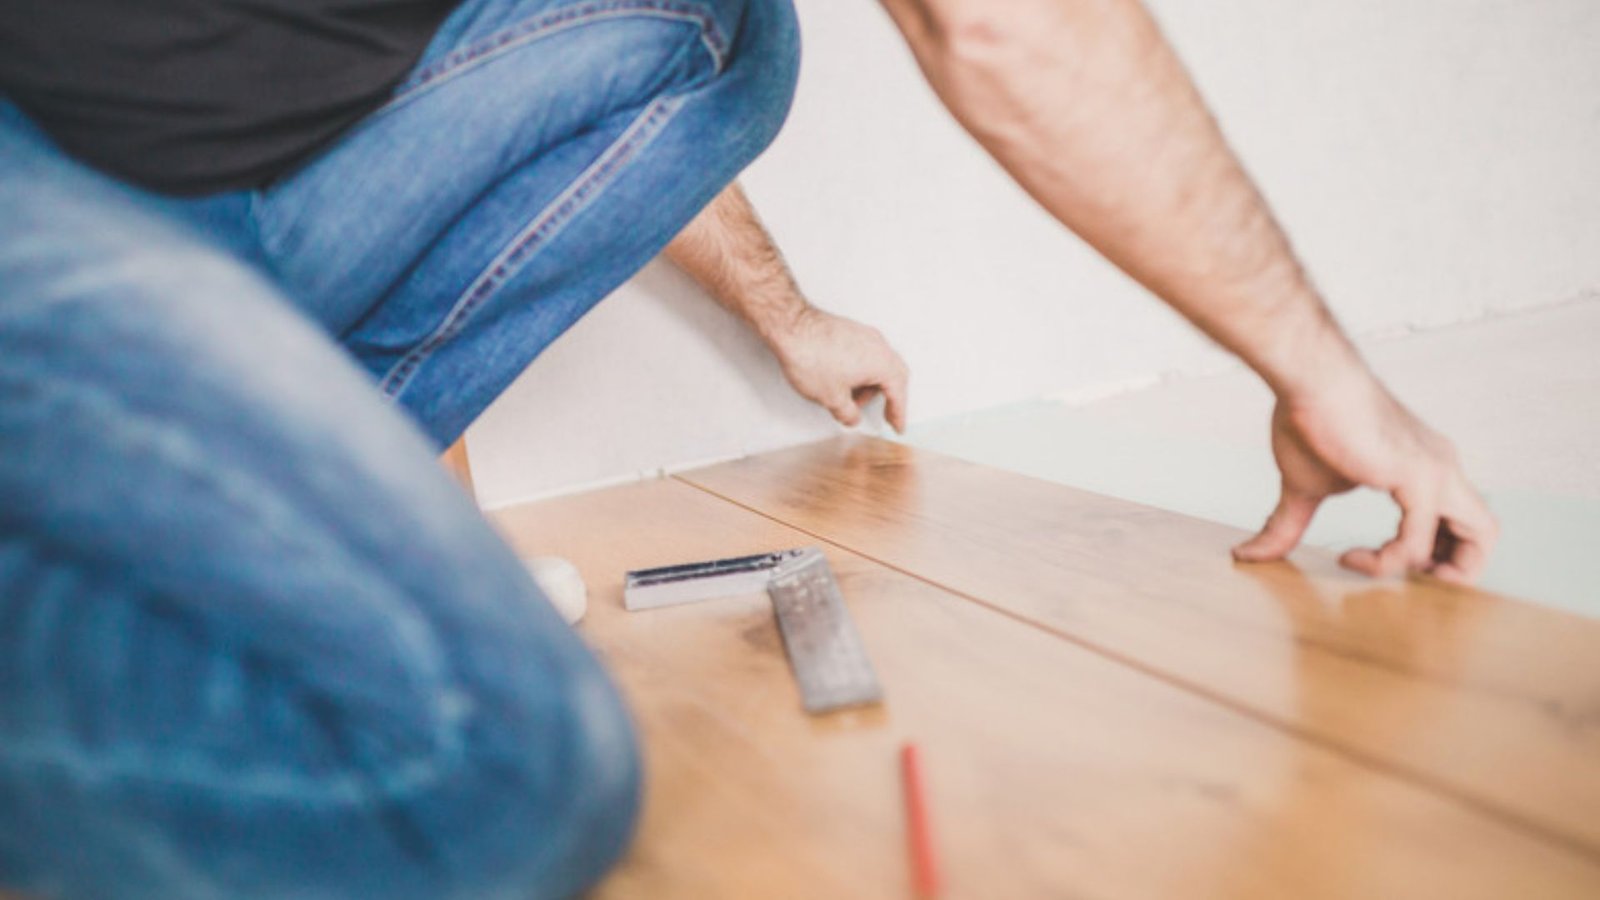
7. Install the Final Row
When you reach the final row of hardwood planks, you may need to trim them to fit. Measure the gap between the last row and the wall, and cut the planks accordingly.
- Use a Pull Bar: If the last row of planks doesn’t fit easily, use a pull bar to tap the planks into place without damaging the edges.
- Maintain Expansion Gap: Make sure to leave a gap between the final row of planks and the wall to allow for wood expansion.
8. Install Baseboards and Trim
Once the hardwood flooring is laid, it’s time to reinstall or replace your baseboards and trim. This helps cover the expansion gap around the edges of the room and gives the floor a polished, finished look.
- Use a Nail Gun: Secure the baseboards and trim to the wall, not the floor, to allow the wood to expand and contract freely.
- Caulk or Paint: If necessary, caulk the edges of the baseboard to create a clean finish, or repaint the baseboards to match your new flooring.
9. Clean and Maintain Your Hardwood Floors
Once the floor is fully installed, give it a final cleaning. Sweep or vacuum the area to remove any dust or debris left behind from the installation process.
- Clean Gently: Use a damp mop with a hardwood-friendly cleaner to gently clean your new floor. Avoid using excessive water, as it can damage the wood over time.
- Maintain Regularly: To keep your hardwood floors looking their best, make sure to clean them regularly and use protective mats in high-traffic areas.
Conclusion
Installing hardwood flooring like a pro is all about preparation, attention to detail, and taking your time to ensure every step is done correctly. By following these steps and using the right tools, you can achieve a beautiful, professional-looking hardwood floor installation that enhances the style and value of your home. Whether you’re tackling the project yourself or working with a professional, these tips will help guide you through the process and ensure a successful result. Happy flooring!