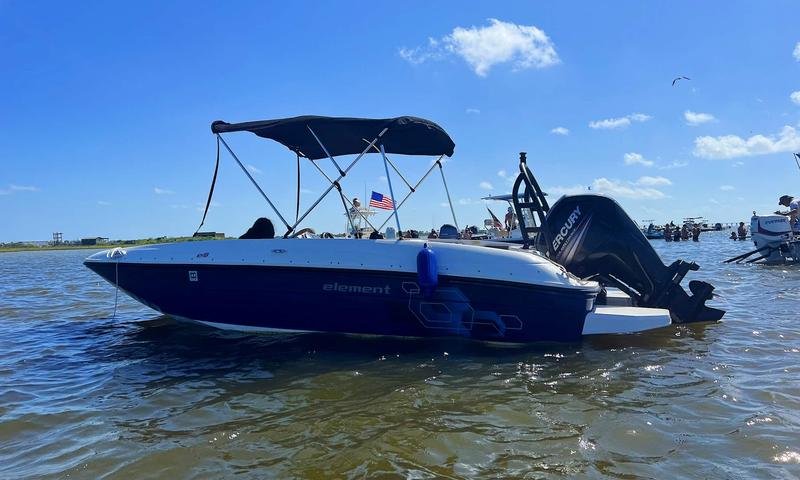


Building a small wooden boat is an exciting and rewarding project that allows you to create a beautiful, functional vessel. Whether you want a simple rowboat, canoe, or small dinghy, following the right steps can help you bring your dream boat to life. Here’s a simple, step-by-step guide on how to build a small wooden boat.
Step 1: Plan Your Boat
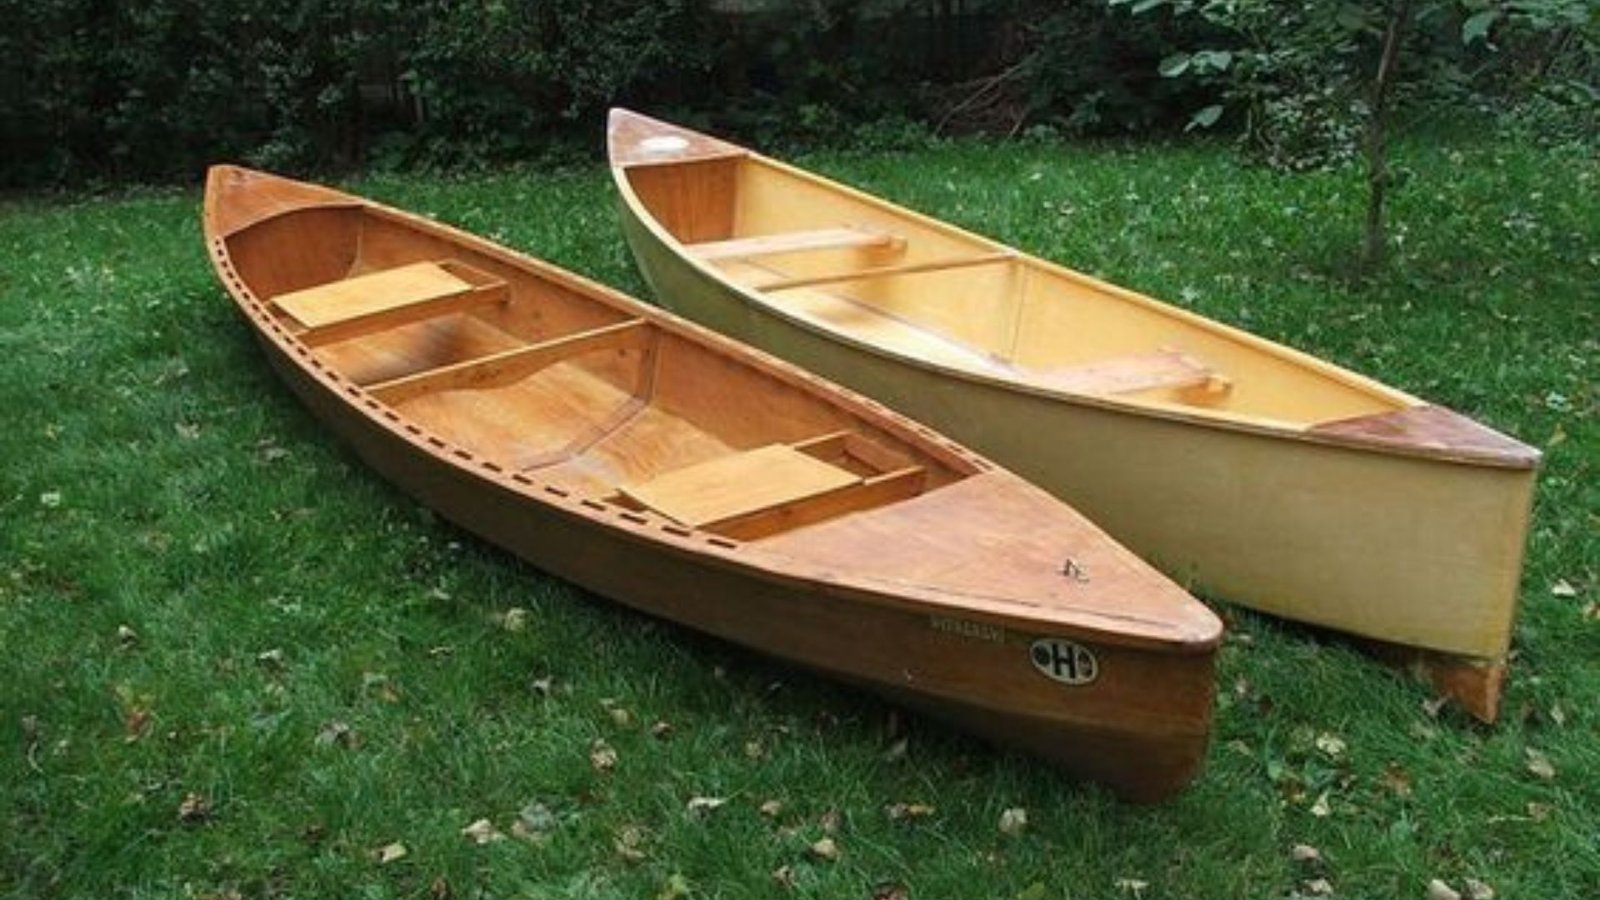
Before you start building, it’s important to have a clear plan. Decide what type of boat you want to build and determine the dimensions and materials needed. You can either find a pre-made design or draw your own. Popular choices for small boats are skiffs, dinghies, or canoes, which are usually about 10 to 16 feet long.
Materials Needed:
- Marine plywood
- Wood for framing (cedar, mahogany, or oak)
- Epoxy resin and fiberglass cloth
- Screws and nails
- Sandpaper
- Paint or varnish

Step 2: Build the Frame
Once you have your plan, start building the boat’s frame. Begin by cutting the wooden pieces to the correct dimensions. The frame consists of several components, including the keel (the bottom central beam), the ribs (side supports), and the stem (the front part of the boat).
Use a strong adhesive like epoxy to attach the pieces together. Make sure everything is square and aligned correctly, as the frame will provide the structure for the rest of the boat.
Step 3: Attach the Bottom and Sides
After the frame is built, the next step is to attach the plywood panels to the frame. Start with the bottom panel, cutting it to the shape of the boat’s bottom. Apply epoxy resin along the edges and screw it into place on the frame.
Next, cut and attach the side panels to the frame. Make sure they are well-aligned and that the seams fit tightly. For extra strength, apply fiberglass cloth and epoxy resin over the seams.
Step 4: Build the Boat’s Transom and Stern
The transom is the back part of the boat where the motor (if any) will be attached. Cut the transom to the desired shape and size, then fit it into place. It should be securely fastened to the sides of the boat with epoxy and screws.
For a clean finish, add extra support along the edges of the transom. Ensure that everything is level and aligned to keep the boat’s structure strong.
Step 5: Sand and Smooth the Surface
Once the frame and panels are attached, it’s time to smooth out any rough areas. Sand the surfaces with medium-grit sandpaper and then finish off with fine-grit sandpaper to ensure a smooth surface. This will help with paint adhesion later and give your boat a polished look.
Be sure to sand the edges where the wood meets, paying special attention to any joints or seams.
Step 6: Apply Epoxy Resin and Fiberglass
To protect your boat from water damage, you need to apply epoxy resin and fiberglass. Start by applying a layer of epoxy resin over the entire boat. Once the resin is applied, lay fiberglass cloth over the boat, ensuring it covers all exposed wooden areas.
After the fiberglass is in place, apply another layer of epoxy resin over the cloth. Let the resin cure as per the instructions, which may take a day or two depending on the product. The fiberglass will provide an additional layer of strength and water resistance.
Step 7: Paint or Varnish the Boat
Now that your boat is protected, it’s time to add the finishing touches. You can choose to either paint or varnish the boat, depending on the look you want. Marine-grade paint will provide additional protection against the elements, while varnish will give your boat a natural, glossy finish.
Apply multiple layers of paint or varnish, letting each layer dry fully before adding the next. This will ensure your boat looks great and lasts for a long time.
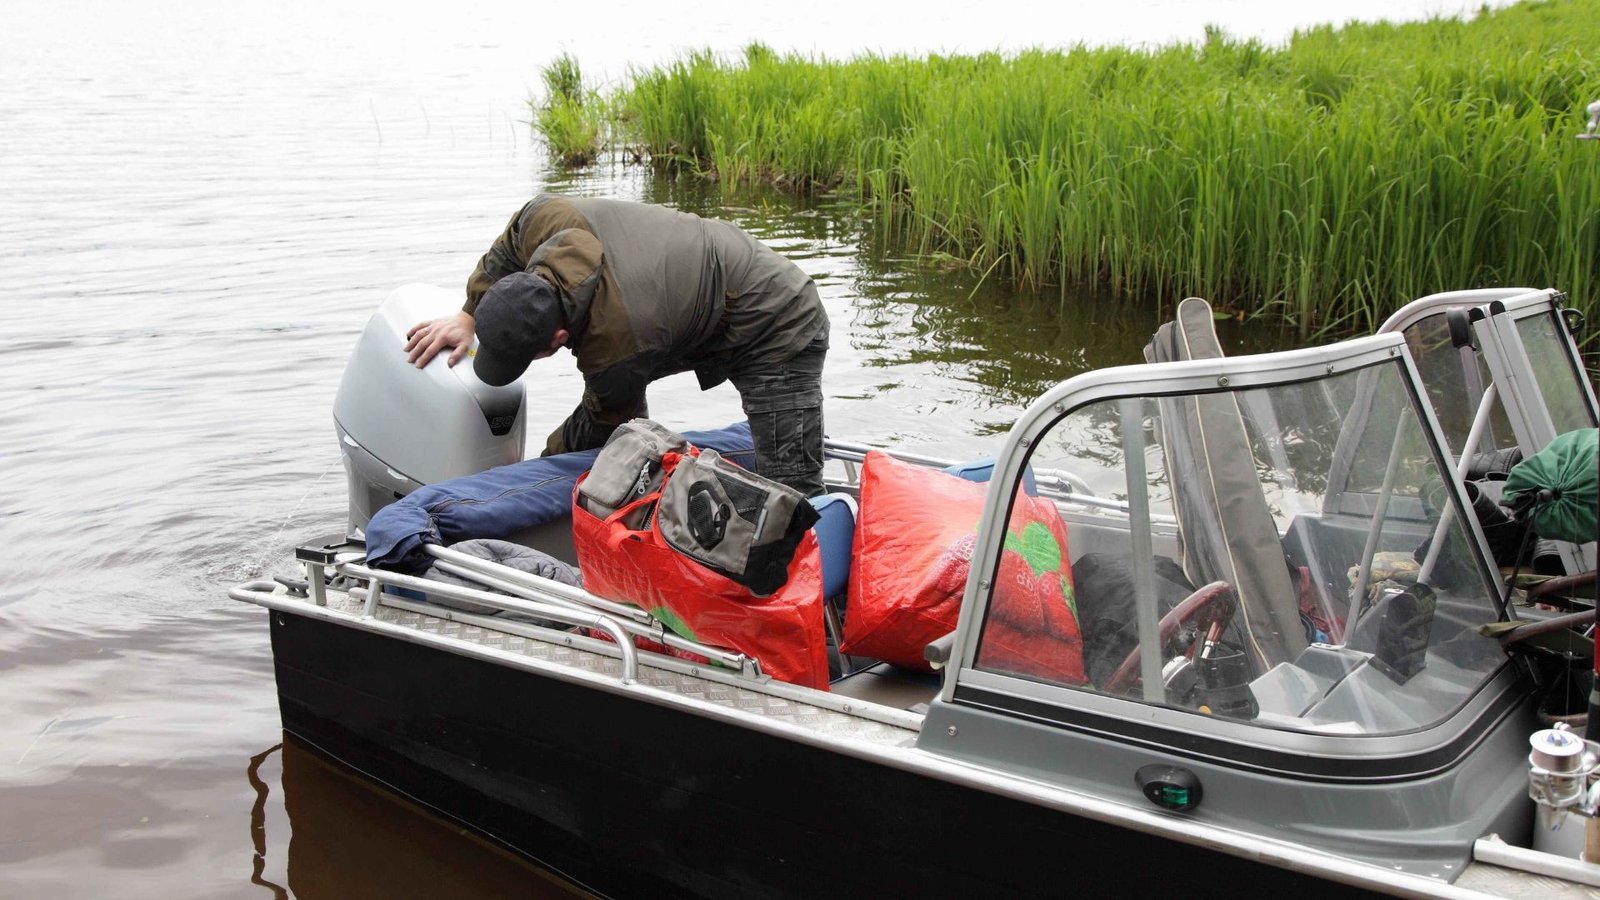
Step 8: Install the Hardware
After the paint or varnish is dry, it’s time to install any hardware. This includes things like oarlocks, seats, a rudder (if needed), and any other accessories for your boat. Ensure everything is securely fastened and that there are no sharp edges or parts that could cause injury.
Step 9: Test Your Boat
Once all the finishing touches are complete, it’s time to take your boat for a test ride. Head to a calm body of water, like a lake, and gently float your boat. Check for stability and make sure there are no leaks. If everything works well, your boat is ready for use!
Conclusion
Building a small wooden boat step by step is a fun and rewarding project that requires patience, precision, and the right materials. By following these simple steps, you can create a boat that’s both beautiful and functional. From planning to finishing touches, each step brings you closer to enjoying your very own handcrafted boat. With a bit of effort and attention to detail, you’ll soon be on the water with a boat you made yourself!