


Joining teak lumber pieces securely is an essential skill for anyone working with this strong and beautiful wood. Teak’s natural oils make it resistant to decay, but they can also pose challenges when it comes to achieving strong and lasting joints. By using the right techniques, tools, and adhesives, you can ensure your projects are not only sturdy but also maintain the elegance that teak is known for. In this post, we’ll share the best ways to join teak lumber effectively so your creations stand the test of time.
Why Joining Teak Lumber Pieces Securely Matters
When working with teak, it’s crucial to focus on secure joints because the wood’s dense structure and natural oils can affect how it bonds. Secure joints are important for both the strength and appearance of your finished pieces. Whether you’re building furniture, decking, or other wooden items, taking the time to ensure the pieces are properly joined will make your project more durable and visually appealing.

1. Prepare the Teak Lumber Thoroughly
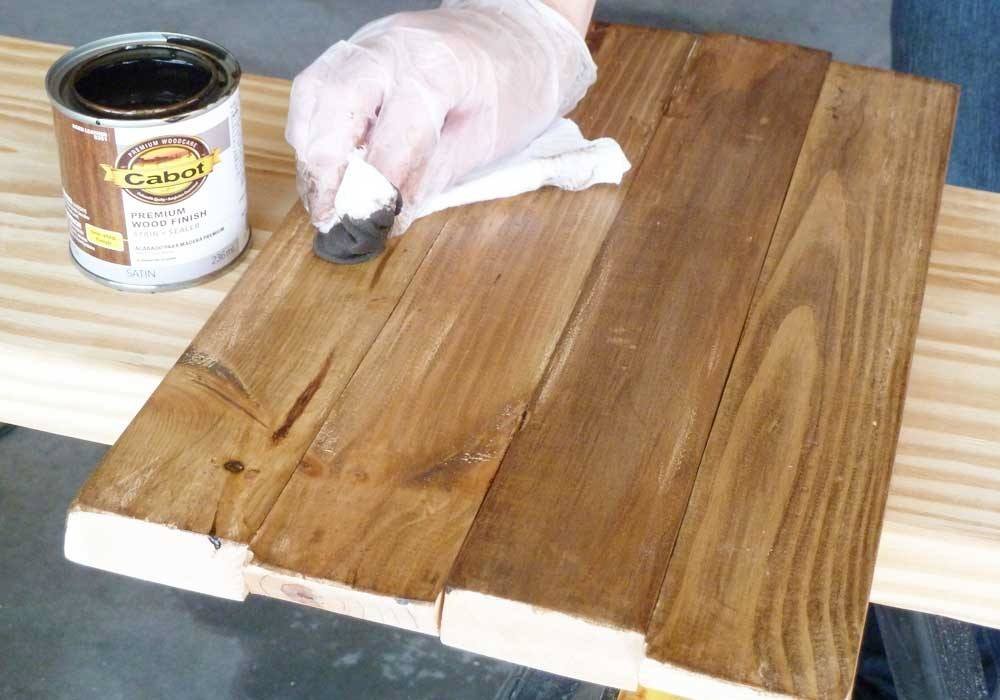
Before joining teak lumber pieces securely, preparation is key. Start by sanding the surfaces you’ll be joining. This step removes the natural oils on the surface, which can interfere with adhesives or finishes. Use fine-grit sandpaper and clean the wood afterward with a cloth dampened with acetone to ensure a clean bonding surface.
2. Use High-Quality Wood Glue
Not all adhesives work well with teak due to its natural oils. Choosing the right glue is crucial for secure joints. Epoxy-based adhesives or polyurethane glues are excellent options because they bond well with teak’s oily surface. Apply the glue evenly on both pieces to create a strong connection.
3. Opt for Mortise and Tenon Joints
Mortise and tenon joints are one of the strongest methods for joining teak lumber. This traditional technique involves creating a hole (mortise) in one piece and a corresponding projection (tenon) on the other. When fitted together, they form a tight, durable joint. Adding a bit of glue to the connection can enhance the bond further.
4. Use Dowels for Precision
Another effective technique for joining teak lumber pieces securely is using dowels. Drilling matching holes in both pieces and inserting wooden dowels with glue creates a strong and seamless connection. Dowels are especially useful for aligning pieces perfectly, ensuring a clean finish.
5. Utilize Pocket Hole Screws
Pocket hole screws are a beginner-friendly option for securing teak lumber. This method involves drilling angled holes into one piece and driving screws into the adjoining wood. Pocket holes are great for creating invisible joints, especially in furniture-making projects. Use stainless steel screws to prevent rust, which can occur over time.
6. Clamp the Pieces Tightly
Clamping is an essential step when joining teak lumber. Once you’ve applied glue or fastened the pieces, use clamps to hold them securely in place until the adhesive cures. This ensures a tight bond and minimizes gaps between the pieces. Leave the clamps on for the recommended curing time specified by the adhesive manufacturer.
7. Consider Biscuit Joints for Larger Pieces
For larger projects like tabletops, biscuit joints are a reliable option. This method involves cutting slots in the edges of the pieces you want to join and inserting wooden biscuits coated with glue. When the biscuits expand, they create a strong bond, ensuring the pieces stay securely joined.
8. Reinforce Joints with Screws or Nails
While glue and traditional joinery are strong, reinforcing the joints with screws or nails adds extra stability. For outdoor projects or heavy-duty applications, this step can help withstand wear and tear. Be sure to countersink screws to maintain a clean, polished appearance.
9. Use Tongue and Groove Joints for Panels
Tongue and groove joints are perfect for joining teak panels securely. This method involves cutting a tongue on one piece and a matching groove on the other. The pieces fit snugly together, creating a strong and seamless joint. This technique is commonly used in flooring or paneling projects.
10. Maintain Your Tools and Materials
Lastly, ensuring your tools are sharp and in good condition is essential for accurate cuts and strong joints. Dull tools can cause splintering or uneven surfaces, weakening the bond between the pieces. Keep your materials clean and free of debris during the joinery process for the best results.
Conclusion
Joining teak lumber pieces securely requires proper preparation, the right techniques, and high-quality adhesives. Whether you’re using traditional joinery methods like mortise and tenon or modern options like pocket hole screws, focusing on precision and durability is key. By following these techniques, you can create beautiful and long-lasting projects that highlight the natural beauty of teak lumber.