Sanding lumber for a perfect finish is an essential step in woodworking. Proper sanding can transform rough lumber into smooth, beautiful surfaces ready for staining or finishing. In this article, we’ll share strategies to ensure you achieve that flawless finish. Whether you’re a seasoned woodworker or a beginner, these tips will help you understand the best practices for sanding lumber.
Understanding the Importance of Sanding
When it comes to woodworking, sanding lumber for a perfect finish is not just about aesthetics. It enhances the wood’s appearance, making it look polished and professional. Sanding also prepares the surface for applying finishes, such as paint, stain, or varnish. A well-sanded surface allows the finish to adhere better and improves its durability. Therefore, investing time in sanding is crucial for achieving high-quality results.

Choosing the Right Sandpaper
The first step in sanding lumber for a perfect finish is selecting the right sandpaper. Sandpaper comes in various grits, which refer to the coarseness of the paper. For initial sanding of rough lumber, use a lower grit, such as 80 or 120. This helps remove any rough spots and imperfections. As you progress, switch to higher grits, such as 220 or 320, for finer sanding. Using the right sandpaper grit ensures a smooth transition from coarse to fine, resulting in a better finish.
Using the Right Tools
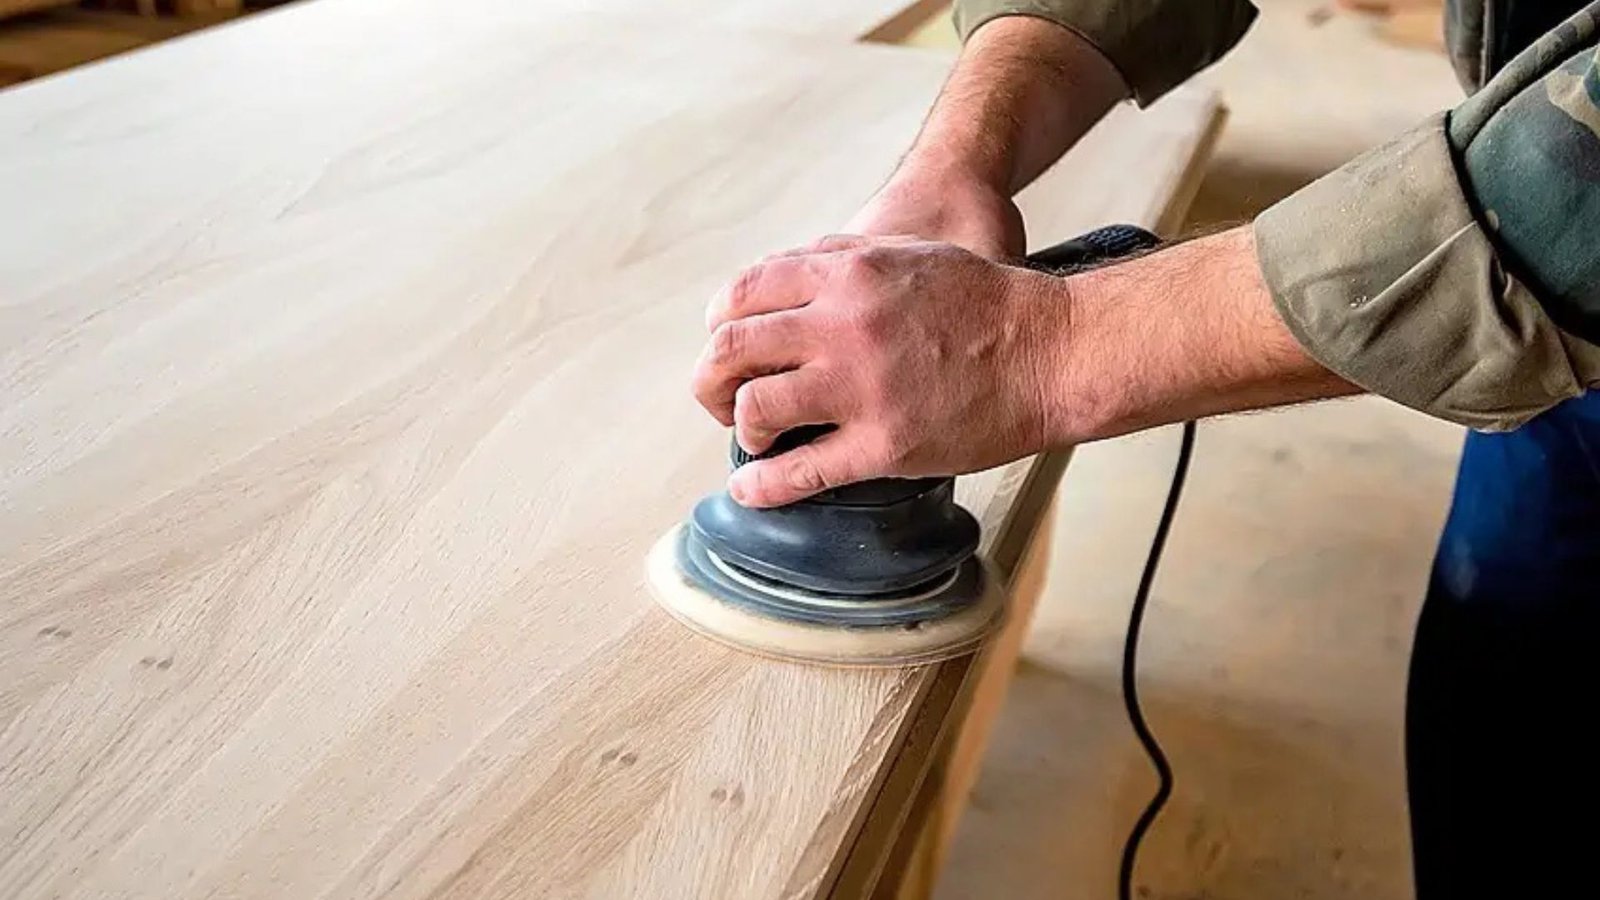
When sanding lumber, having the right tools is essential. While hand sanding is effective for small projects and intricate details, power sanders can save time and effort for larger surfaces. Orbital sanders and belt sanders are popular choices. An orbital sander provides a smooth finish, while a belt sander is great for removing material quickly. Regardless of the tool you choose, ensure it’s appropriate for the type of lumber you are working with.
Sanding Technique Matters
The technique you use when sanding lumber for a perfect finish can significantly impact the outcome. Always sand with the grain of the wood, not against it. Sanding against the grain can create scratches that are difficult to remove. When using power sanders, keep the sander moving to avoid creating uneven spots. For hand sanding, use even pressure and long strokes to create a uniform surface. These techniques will help you achieve a better finish and prevent damage to the wood.
Sanding in Stages
When sanding lumber for a perfect finish, it’s important to work in stages. Start with a coarse grit to remove imperfections, then gradually move to finer grits. For example, begin with 80 grit, then progress to 120 grit, and finally finish with 220 grit. This staged approach allows you to remove any scratches left by the previous grit and results in a smoother surface. Taking your time during each stage is essential to achieve that perfect finish.
Checking for Imperfections
After sanding with each grit, it’s crucial to check for imperfections. Take the time to inspect the surface closely. Look for any remaining scratches, dents, or rough spots. If you find any, focus on those areas with the appropriate grit until they are smooth. Checking for imperfections ensures that you don’t miss any spots, resulting in a flawless finish when you apply your final coat.
Cleaning the Surface
Before applying any finish, always clean the surface of the sanded lumber. Dust and debris can interfere with the adhesion of stains and finishes. Use a tack cloth or a damp cloth to wipe away dust. Make sure the wood is completely dry before applying any finish. Cleaning the surface ensures that your finish will adhere properly and looks even and professional.
Testing Your Finish
Before applying your chosen finish to the entire project, test it on a scrap piece of the same lumber. This test will allow you to see how the wood reacts to the finish and help you determine if any additional sanding is needed. Testing ensures that you achieve the desired look and that your sanding efforts result in a perfect finish.
Using a Finish that Suits Your Project
Different finishes can yield different results on the same wood. When sanding lumber for a perfect finish, consider the type of finish you will use. For example, oil-based stains can enhance the grain and provide a rich color, while water-based finishes are clear and less yellowing. Understanding how various finishes interact with wood will help you choose the best product for your project and ensure that your sanding process aligns with your desired outcome.
Conclusion
Sanding lumber for a perfect finish is a critical step in woodworking that shouldn’t be overlooked. By choosing the right sandpaper, using the correct tools, and following proper techniques, you can achieve a smooth and professional finish. Remember to work in stages, check for imperfections, and clean the surface before applying your finish. With these strategies in mind, you’ll be well on your way to creating beautiful woodworking projects that showcase your skills and craftsmanship.


