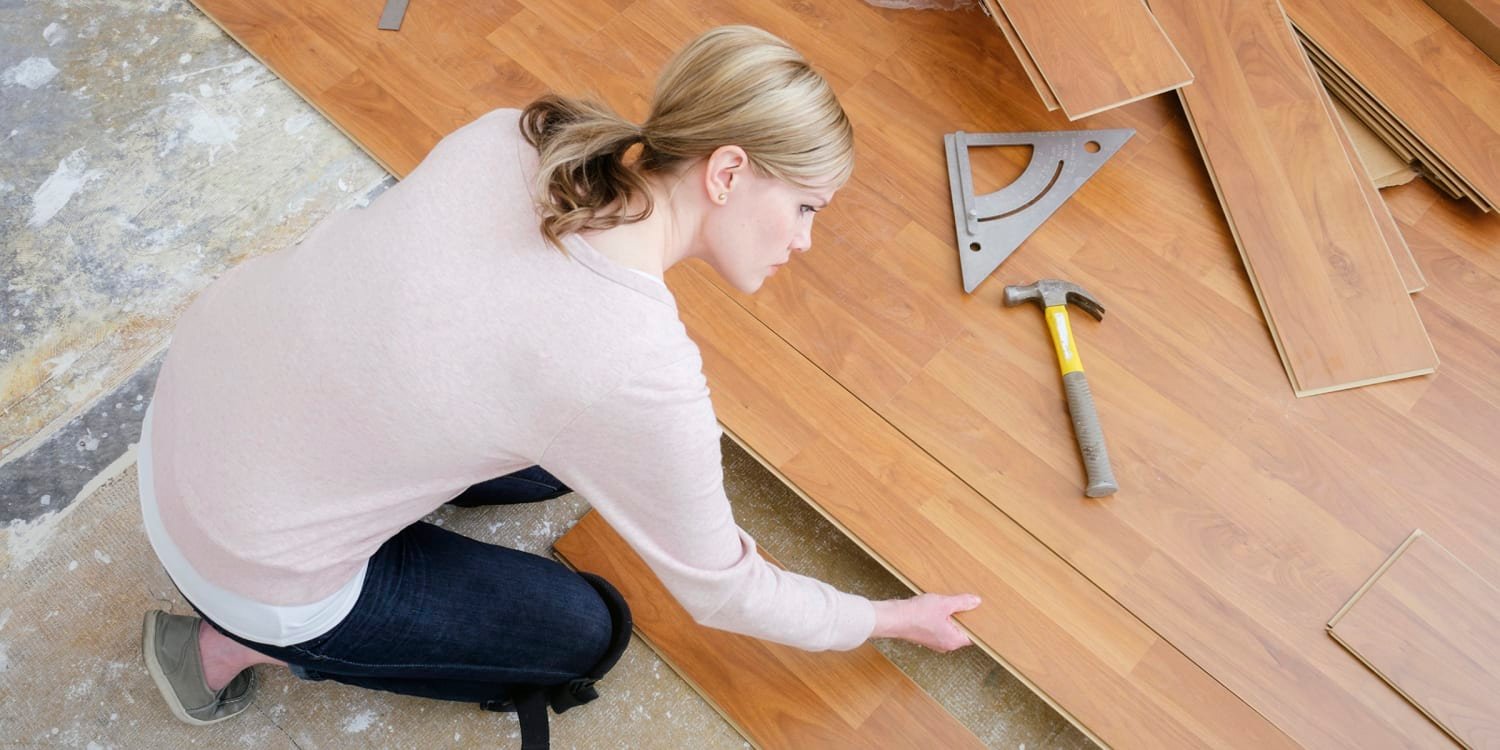


Hardwood floors add elegance and charm to any home, but they are not immune to wear and tear. Over time, scratches from furniture, pets, or heavy foot traffic can dull their beauty. Luckily, repairing scratches on hardwood flooring doesn’t have to be a difficult or expensive task. With the right tools and techniques, you can restore your floors to their original luster.
Here’s how to repair scratches on hardwood flooring with easy and effective methods.
1. Assess the Damage
Before jumping into repairs, it’s essential to assess the severity of the scratches. Not all scratches require the same approach.
- Surface Scratches: These scratches are usually light and only affect the top layer of finish. You may only need to buff them out.
- Deeper Scratches: If the scratch goes through the finish and into the wood, you’ll need to apply a more thorough repair, such as wood filler or sanding.
Once you’ve determined the depth, you can choose the best method for fixing the scratch.
2. Use a Wax Stick or Wood Filler
For light scratches, a wax stick or wood filler can be a quick and effective solution. These products are designed to fill in the scratch, making it less visible.
- Wax Stick: Wax sticks come in various wood tones and are ideal for minor surface scratches. Simply rub the wax over the scratch, ensuring it fills in the gap. Then, use a cloth to buff the area and blend it with the surrounding floor.
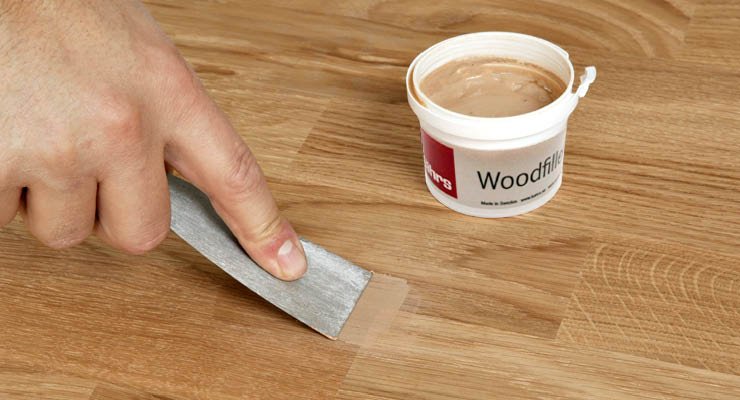
- Wood Filler: For slightly deeper scratches, wood filler may be necessary. Select a wood filler that matches the color of your floor, apply it into the scratch, and smooth it with a putty knife. Allow the filler to dry, and then gently sand it to make the surface even.
Both wax sticks and wood fillers are quick and easy solutions that can blend minor damage into the rest of the floor.
3. Buff the Scratch Out
If the scratch is superficial, buffing may be all you need to restore your floor’s appearance. Here’s how:
- Clean the Floor: Start by cleaning the area around the scratch with a mild cleaner to remove dirt and debris.
- Buffing Pad: Use a soft cloth or a buffing pad attached to a floor buffer (if available) to gently buff the scratched area. Apply gentle pressure and work in small, circular motions.
- Polish the Area: Once the scratch is no longer visible, apply a small amount of wood polish or wax to enhance the shine and protect the floor.
Buffing is a simple and effective way to eliminate minor scratches and restore the floor’s surface.
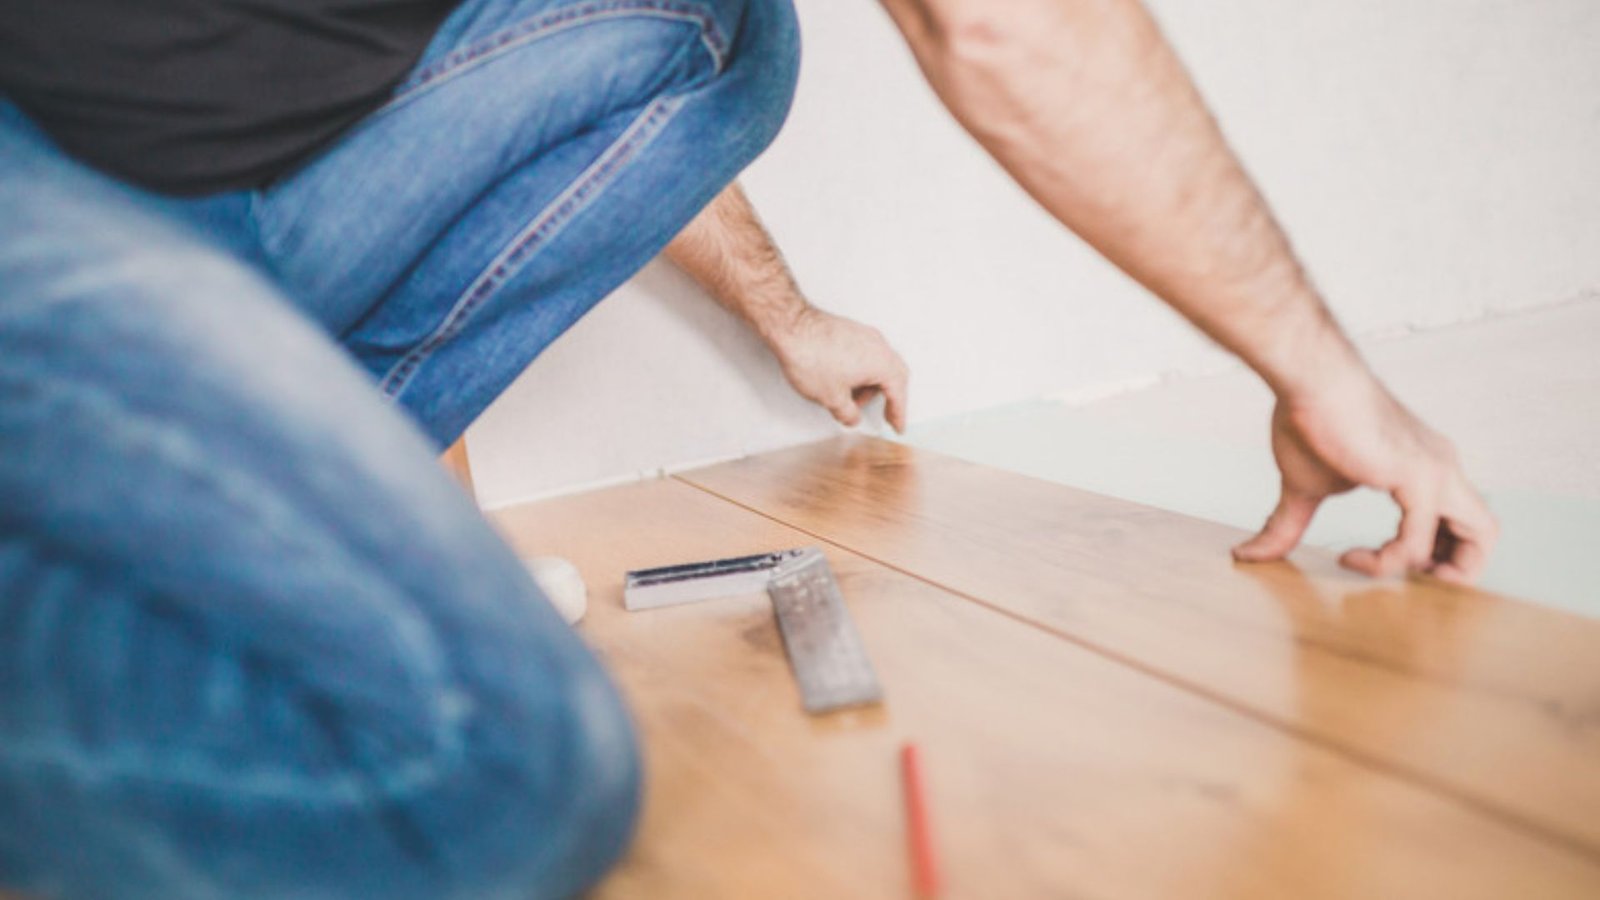
4. Sanding and Refinishing
For deeper scratches that penetrate the wood’s surface, you may need to sand and refinish the area. This method works well for scratches that can’t be fixed with fillers or buffing alone.
- Sanding the Scratch: Start by lightly sanding the area with fine-grit sandpaper. Sand in the direction of the wood grain to avoid further damage. Sand until the scratch disappears, and the surface is smooth.
- Staining (If Needed): If sanding removes the color of the wood, apply a wood stain that matches your floor’s tone. Allow it to dry completely.
- Refinishing: After sanding and staining, apply a clear wood finish (polyurethane or varnish) to the repaired area. This will protect the wood and bring back its shine. Apply a few coats for durability, letting each coat dry before adding another.
This method is perfect for addressing deeper scratches and ensuring that your floor looks as good as new.
5. Use a Wood Repair Marker or Pen
For minor scratches, a wood repair marker or pen is a convenient and inexpensive fix. These markers come in various wood colors and can be used to conceal small imperfections on the surface.
- How to Use: Shake the marker well and apply it directly to the scratch. Once applied, wipe away any excess with a soft cloth. Let it dry completely.
- Blending: After the marker dries, gently buff the area to help it blend into the surrounding wood.
Wood repair markers are ideal for minor scratches and quick fixes.
6. Apply a New Coat of Finish (If Necessary)
If your floor has multiple scratches or is showing signs of wear, you may want to apply a new coat of finish to restore its overall appearance.
- Prepare the Surface: Clean the floor thoroughly and sand lightly to remove the old finish. This will help the new finish adhere better.
- Apply the Finish: Choose a polyurethane or varnish finish suitable for your floor. Apply a thin, even layer with a brush or a roller.
- Dry and Buff: Allow the finish to dry according to the manufacturer’s instructions. Once dry, buff the floor lightly to ensure a smooth surface.
This process not only covers scratches but also refreshes the entire floor’s look.
7. Prevent Future Scratches
Once you’ve repaired the scratches, it’s essential to take steps to prevent new ones from forming. Here are a few tips:
- Use Furniture Pads: Place felt pads or rubber protectors on the legs of furniture to prevent scratches when moving items around.
- Clean Regularly: Dirt and debris can act as abrasives, causing scratches. Sweep or vacuum the floor regularly to keep it clean.
- Use Rugs or Mats: Place rugs or mats in high-traffic areas to protect your floor from scratches and wear. Ensure the mats have non-slip backing to prevent them from shifting.
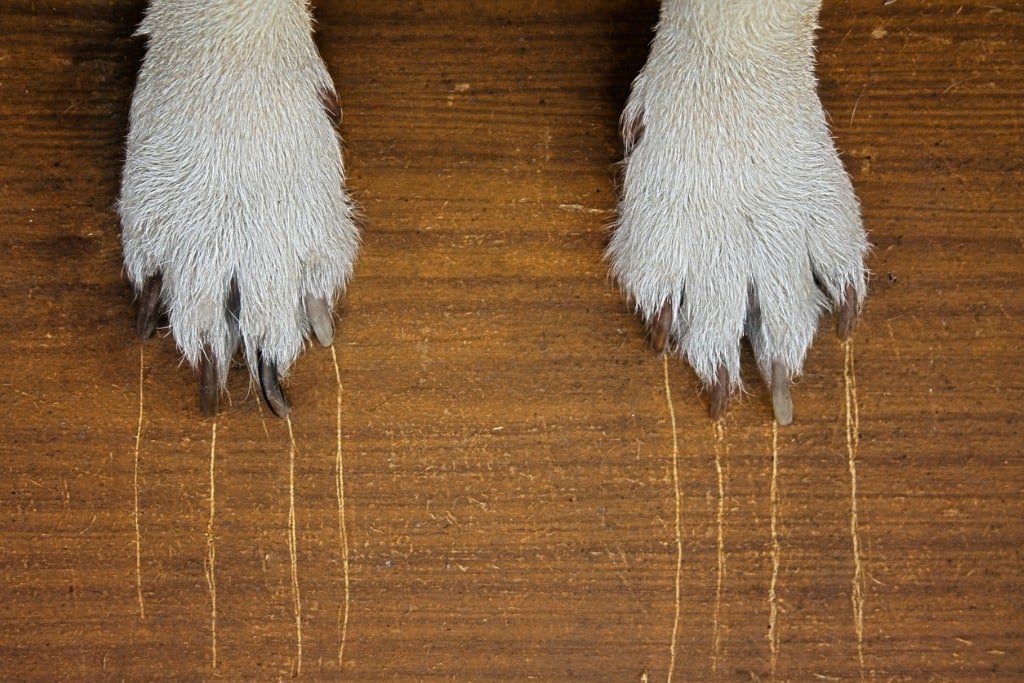
- Trim Pet Nails: If you have pets, regularly trim their nails to avoid scratches from claws.
By taking these precautions, you can keep your hardwood floors looking pristine for years to come.
Conclusion
Scratches on hardwood flooring are common, but they don’t have to be permanent. Whether the damage is light or deep, there are several methods available to restore your floors. From using wax sticks and wood fillers to sanding and refinishing, each technique offers a way to make your floor look as good as new. With a little effort and care, you can repair scratches and protect your hardwood floors for long-lasting beauty and durability.