")


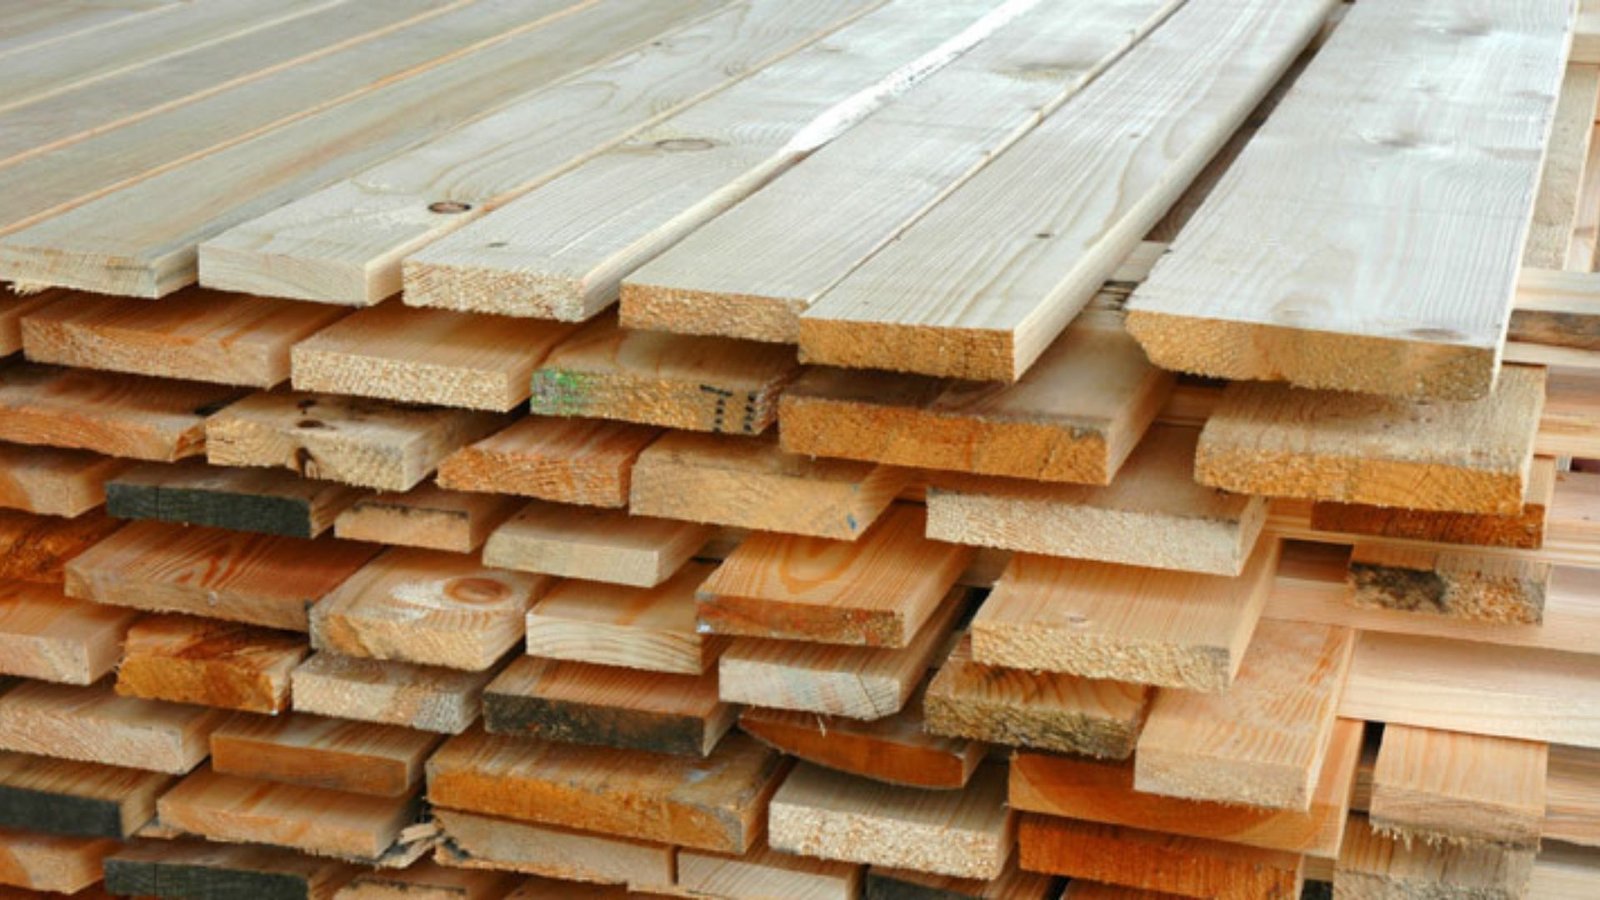
Cutting lumber is a crucial skill for any woodworking project, whether you’re building furniture, framing a house, or tackling a DIY craft. But cutting wood improperly can be dangerous and result in wasted materials. Fortunately, with the right tools, safety precautions, and techniques, you can make precise cuts while keeping yourself safe. In this guide, we’ll walk you through the steps to cut lumber safely and efficiently, ensuring your projects go smoothly and safely.
1. Gather the Right Tools
Before you start cutting, it’s essential to have the right tools for the job. Different tools are suited for different cuts, so knowing which one to use will make the job easier and more accurate.
Tools You’ll Need:
- Measuring tape: To measure the length of your cuts accurately.
- Saw: The type of saw you choose depends on the cut you need.
- Hand saw: Good for small, manual cuts in softer woods.
- Circular saw: Ideal for straight cuts through thicker lumber.
- Miter saw: Perfect for angled cuts and crosscuts.
- Table saw: Offers precision for long, straight cuts and rip cuts.
- Speed square: Helps to measure and mark right angles for cuts.
- Clamps: To secure the lumber while cutting, preventing movement and ensuring a steady cut.
- Safety gear: Always wear safety goggles, ear protection, and a dust mask.
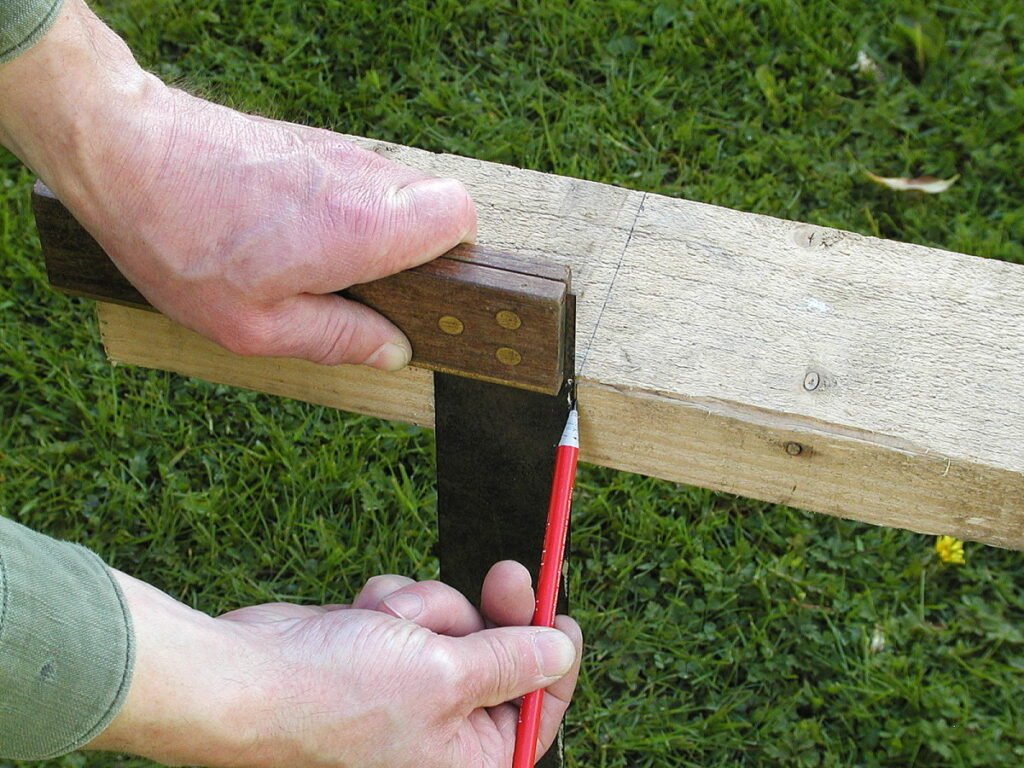
2. Measure and Mark Your Cuts Carefully
Accurate measurements are essential for making precise cuts. Even a small error in measurement can result in pieces that don’t fit together properly, wasting both time and materials.
How to Measure and Mark:
- Measure twice, cut once: Always double-check your measurements to avoid mistakes.
- Use a pencil: Mark your cut line with a pencil that can be easily seen but also erased or sanded off.
- Mark a straight line: Use a measuring tape to measure the length, and then use a speed square or straight edge to draw a straight line across the wood.
- Consider kerf: The kerf is the width of the cut made by the saw blade. Make sure to account for this when measuring, especially with table saws.
3. Set Up a Stable Work Area
A stable work environment is key to both safety and efficiency when cutting lumber. A shaky or cluttered workspace can lead to mistakes, accidents, or inaccurate cuts.
How to Set Up Your Work Area:
- Use a workbench or saw horse: Place your wood on a stable surface, such as a workbench or saw horse. This prevents the wood from shifting during the cut.
- Secure the wood with clamps: Use clamps to hold the lumber firmly in place, ensuring it doesn’t move as you cut.
- Clear your workspace: Make sure there are no obstacles or distractions around your cutting area to prevent accidents.
4. Follow Proper Cutting Techniques
Once your lumber is securely in place and marked, it’s time to start cutting. Using proper cutting techniques will ensure you get smooth, accurate cuts while minimizing risk.
How to Cut Safely and Efficiently:
- Wear protective gear: Always wear safety goggles to protect your eyes from flying debris, ear protection to shield your hearing from loud tools, and a dust mask to avoid inhaling wood dust.
- Check the saw blade: Before starting, make sure the saw blade is sharp and in good condition. A dull blade can cause rough cuts and increase the risk of accidents.
- Use steady, controlled movements: Whether using a hand saw or power saw, move the saw in a controlled manner. Don’t rush the cut—let the saw do the work.
- Keep hands away from the blade: Always keep your hands away from the cutting path and follow the manufacturer’s guidelines for tool safety.
- Cut in the right direction: For circular saws, ensure the teeth are facing the right direction (downward for cutting through the top of the wood). For miter saws, position the wood so the blade cuts from top to bottom.
5. Use the Right Saw for the Job
Each saw has its own strengths, and using the right one will make your cuts smoother and more efficient. Here’s a breakdown of when to use different types of saws:
Circular Saw:
- Best for: Long, straight cuts through thick boards.
- How to Use: Guide the saw along your measured line with one hand while holding the saw with the other.
Miter Saw:
- Best for: Crosscuts (cutting across the grain) and angled cuts.
- How to Use: Position the wood firmly against the fence, lower the saw, and make your cut. For angled cuts, adjust the saw’s angle before cutting.
Table Saw:
- Best for: Precision cuts, especially for ripping lumber (cutting along the grain).
- How to Use: Feed the wood slowly and steadily through the saw, keeping your hands at a safe distance from the blade.
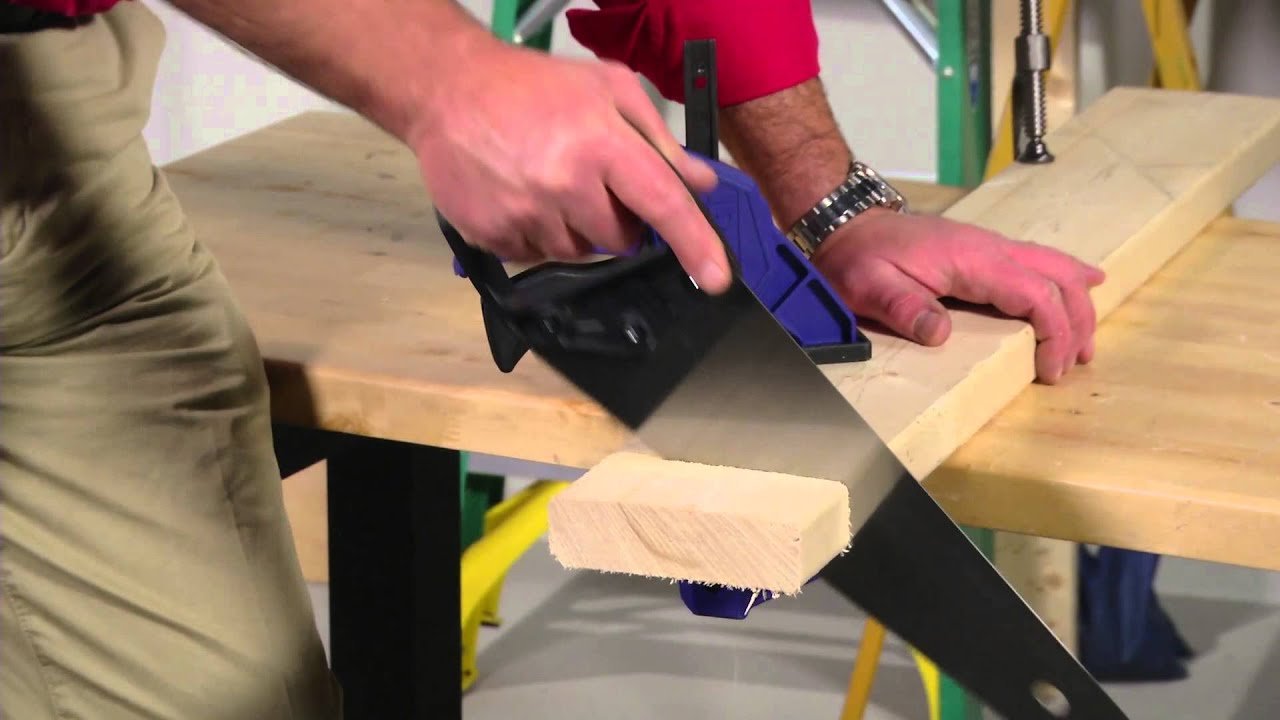
Hand Saw:
- Best for: Smaller, manual cuts where power tools are not necessary.
- How to Use: Use long, steady strokes to cut along the marked line, keeping the blade straight to ensure an accurate cut.
6. Cutting Tips for Accuracy and Clean Cuts
Achieving clean, accurate cuts is the goal when working with lumber. Here are a few tips to ensure your cuts are precise:
- Support the wood: When cutting long pieces of lumber, ensure the wood is properly supported at both ends to prevent bending or splintering.
- Use a guide: For straight cuts, use a guide like a speed square or a straightedge to keep the saw aligned with your marked line.
- Cut slowly: Avoid rushing the cut. A slower, steady pace helps maintain accuracy and reduces the risk of mistakes.
- Consider blade type: For cleaner cuts, use a fine-toothed blade, especially when working with hardwoods or delicate pieces.
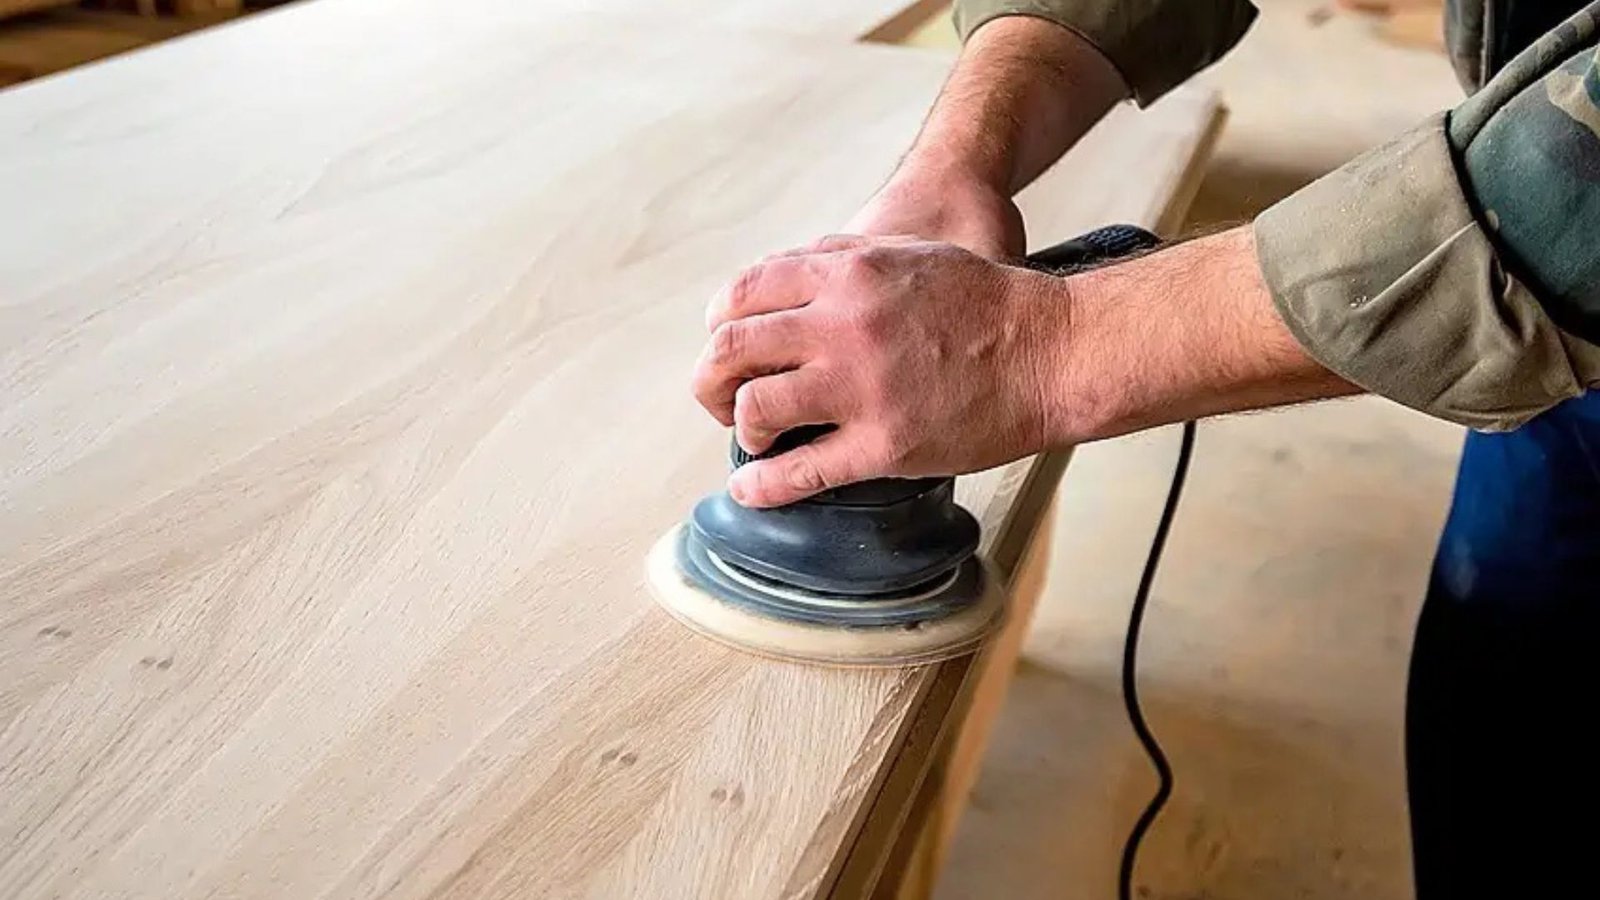
7. Clean Up After Cutting
After you’ve completed your cuts, it’s important to clean up your workspace and maintain your tools for future use.
How to Clean Up:
- Remove sawdust: Use a broom or shop vac to clean up the sawdust around your work area. This helps maintain a safe environment and prevents the buildup of debris.
- Inspect your tools: Clean your saw blades and check for any damage or dullness. Proper maintenance ensures your tools stay efficient and safe to use.
- Store tools properly: Keep your saws and other tools in a secure, dry location to prevent damage and ensure they’re ready for your next project.
Conclusion
Cutting lumber safely and efficiently requires the right tools, proper preparation, and a solid understanding of cutting techniques. By following these steps and taking your time, you can make accurate cuts and avoid accidents. Whether you’re using a hand saw or a power tool, always prioritize safety and measure twice to avoid mistakes. With the right approach, cutting lumber can be both a safe and rewarding experience, leading to successful and precise woodworking projects.