


Installing hardwood flooring can transform your space, adding elegance and value to your home. However, the installation process requires careful planning, preparation, and the right tools to ensure a successful outcome. Whether you’re a beginner or an experienced DIYer, this guide will walk you through essential tips and techniques to help you install hardwood flooring like a pro.
1. Choose the Right Hardwood Flooring
Before starting the installation, it’s important to select the right type of hardwood flooring for your space. There are two main types of hardwood: solid and engineered. Solid hardwood is a single piece of wood, while engineered hardwood consists of multiple layers for added stability. If you’re installing hardwood in areas with high humidity, such as basements, engineered hardwood may be a better option.
Tip: Always check the wood’s moisture content to avoid expansion or contraction after installation.
2. Prepare the Subfloor
The subfloor must be clean, dry, and level to ensure proper installation. If your subfloor is uneven, use a self-leveling compound to smooth it out. If you’re working with a concrete subfloor, make sure it is completely dry to prevent moisture issues that can damage your hardwood. Remove any nails, staples, or debris from the subfloor before starting.
Tip: If your subfloor is made of plywood, check for any loose boards and secure them with screws to prevent creaking.
3. Acclimate the Hardwood Flooring
Wood is a natural material that expands and contracts with changes in humidity. To prevent any issues after installation, it’s crucial to acclimate the hardwood flooring to the room’s temperature and humidity. Leave the hardwood planks in the room where they will be installed for at least 48 to 72 hours before starting the installation process.
Tip: Keep the room temperature between 60°F and 80°F (15°C to 27°C) during the acclimation period.
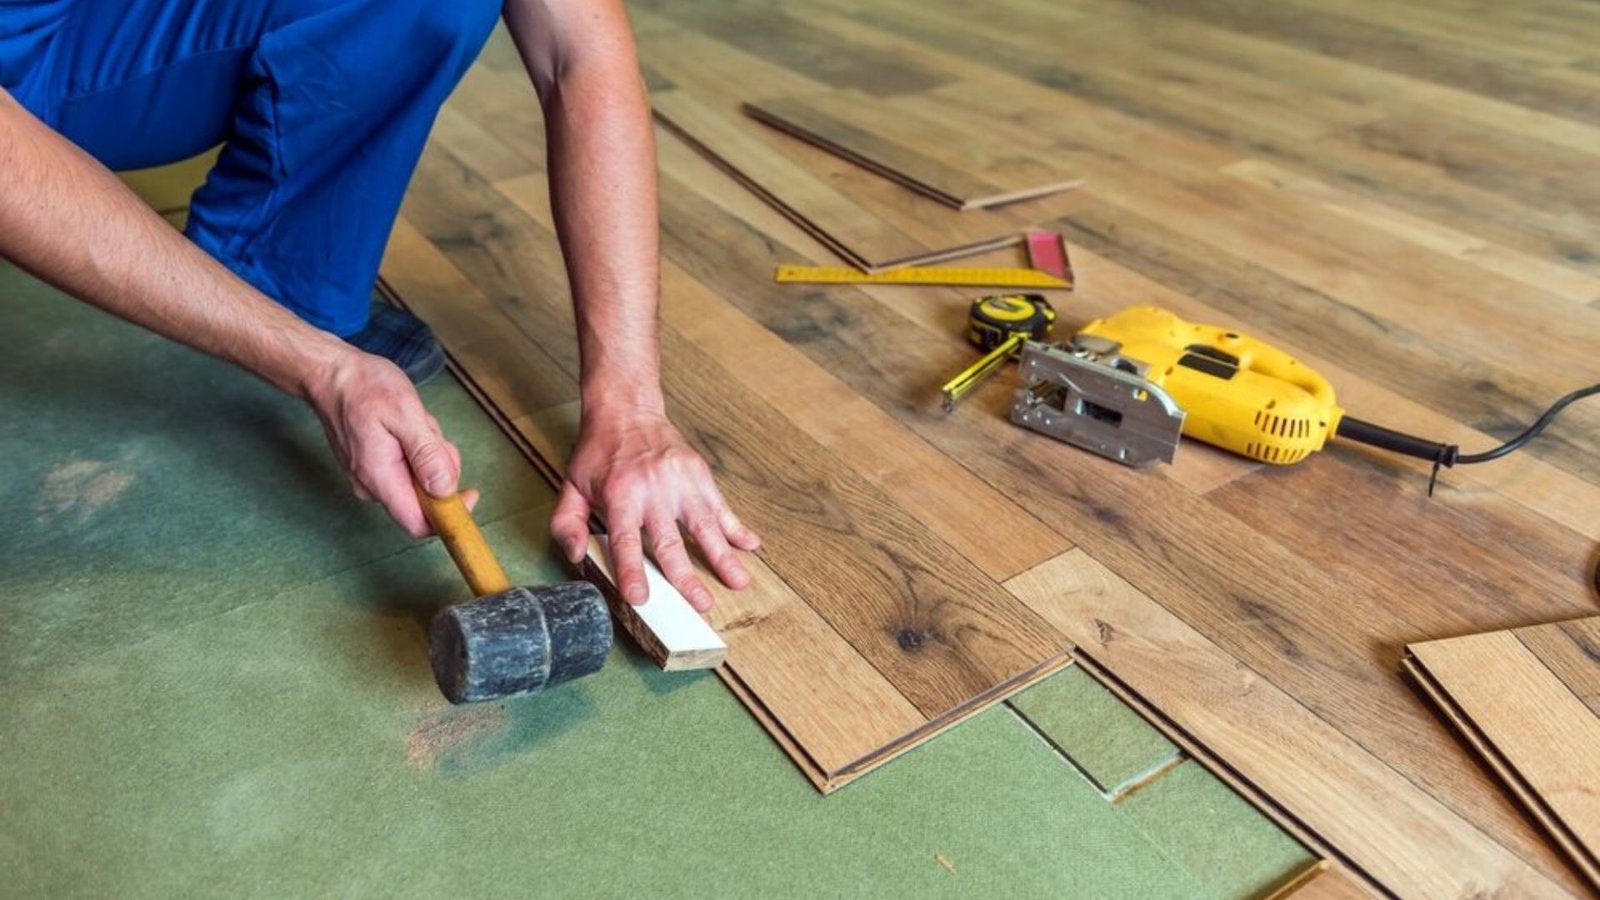
4. Gather the Necessary Tools and Materials
Having the right tools will make the installation process much easier and more efficient. Here are the essential tools and materials you’ll need:
- Tape measure
- Miter saw or circular saw
- Hammer and nails or flooring nailer
- Rubber mallet
- Spacers
- Wood glue (if required)
- Chalk line or laser level
Tip: If you don’t have a flooring nailer, you can rent one from most home improvement stores.
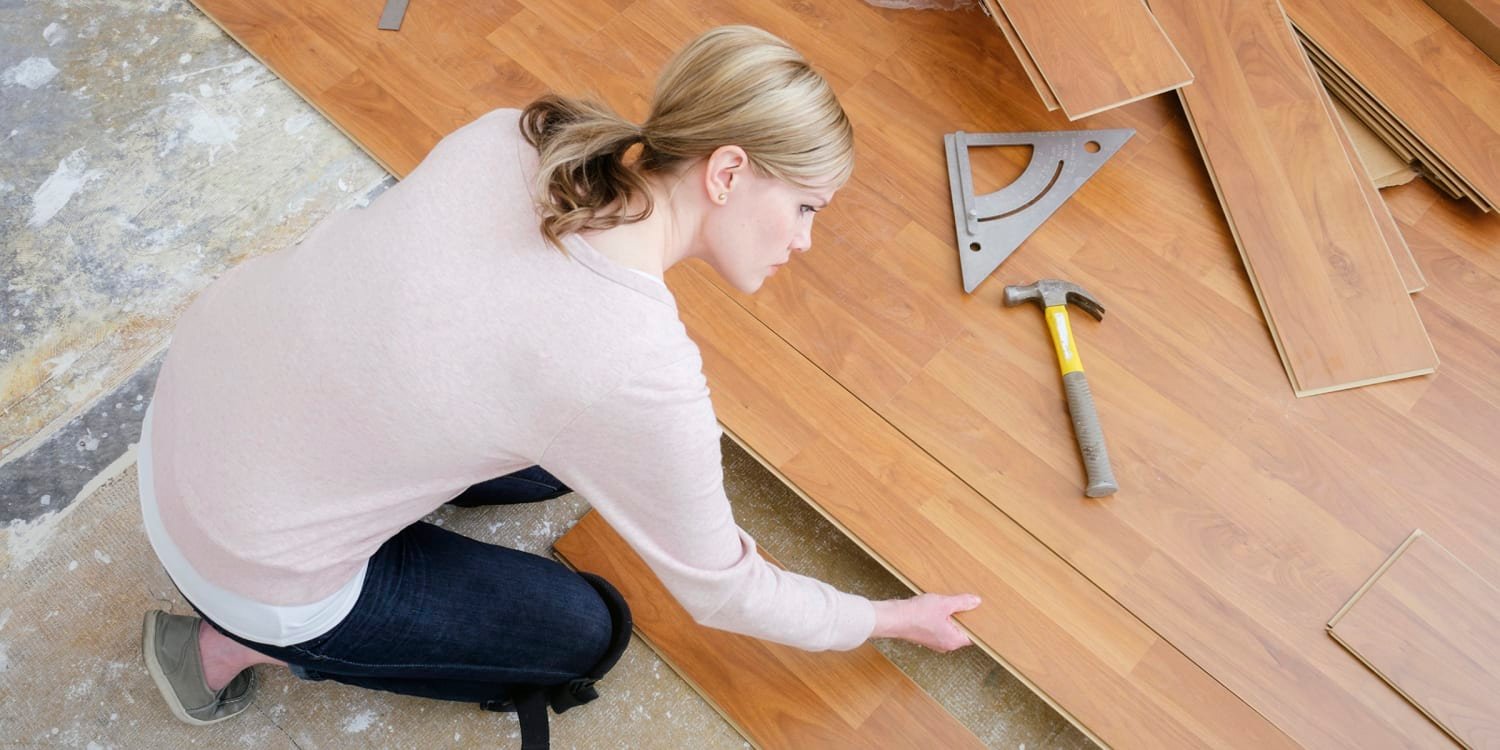
5. Plan the Layout
Before you start installing the hardwood planks, it’s essential to plan the layout. Begin by finding the center of the room and snapping a chalk line or using a laser level to create a reference line. This will help ensure the planks are straight and aligned. Plan to install the planks parallel to the longest wall in the room for a more natural and aesthetic look.
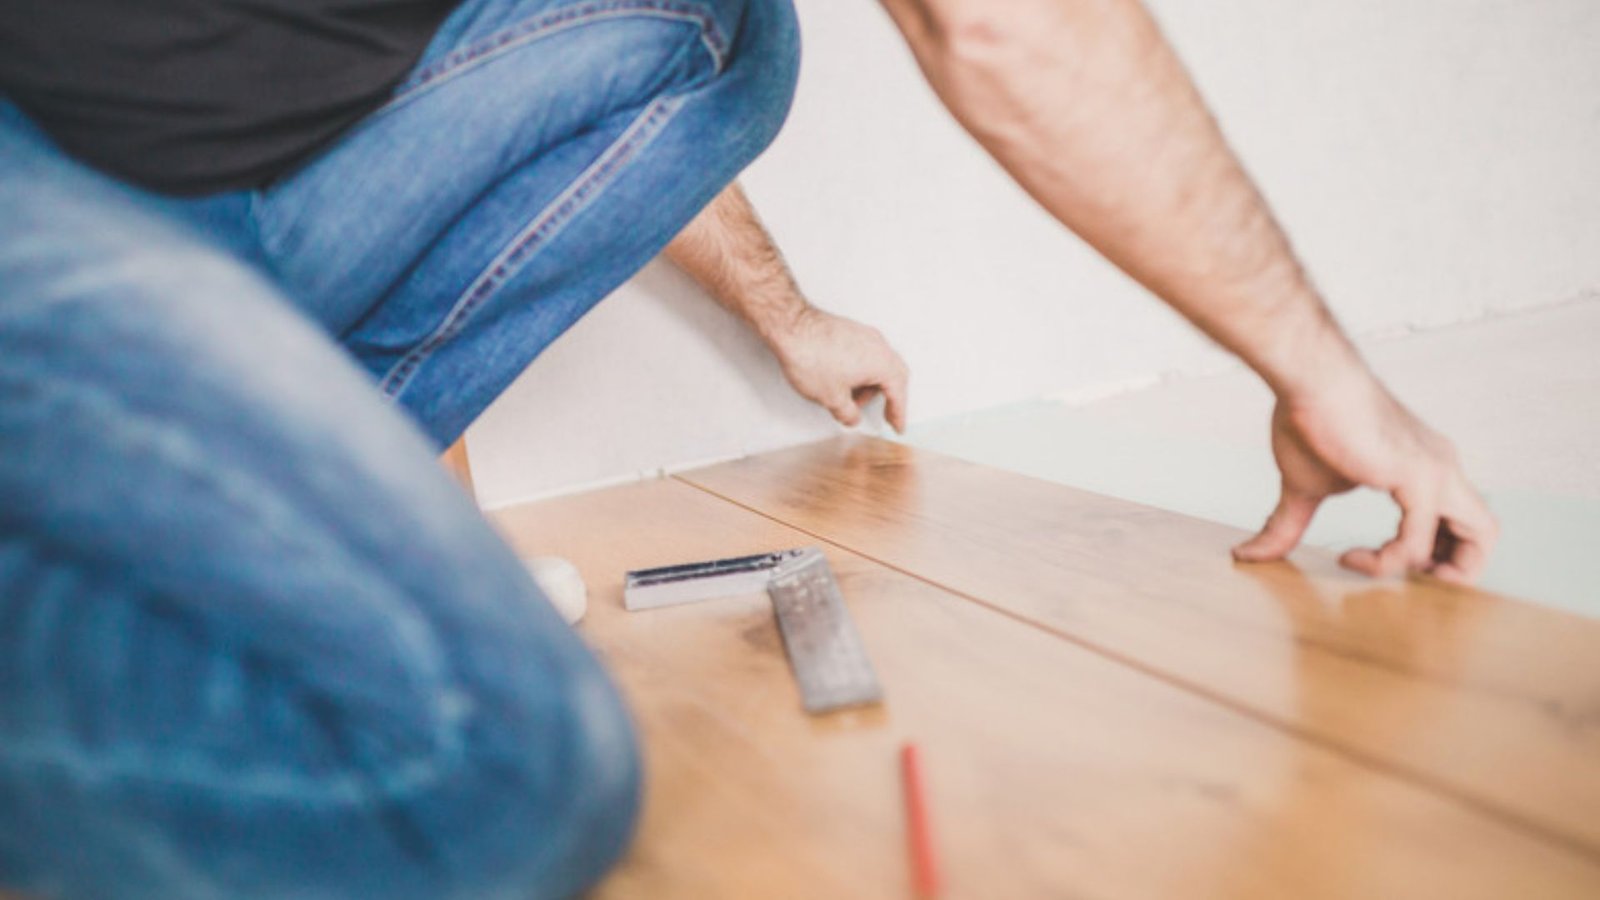
Tip: Leave a small gap (about 1/4 inch) between the planks and the walls to allow for expansion.
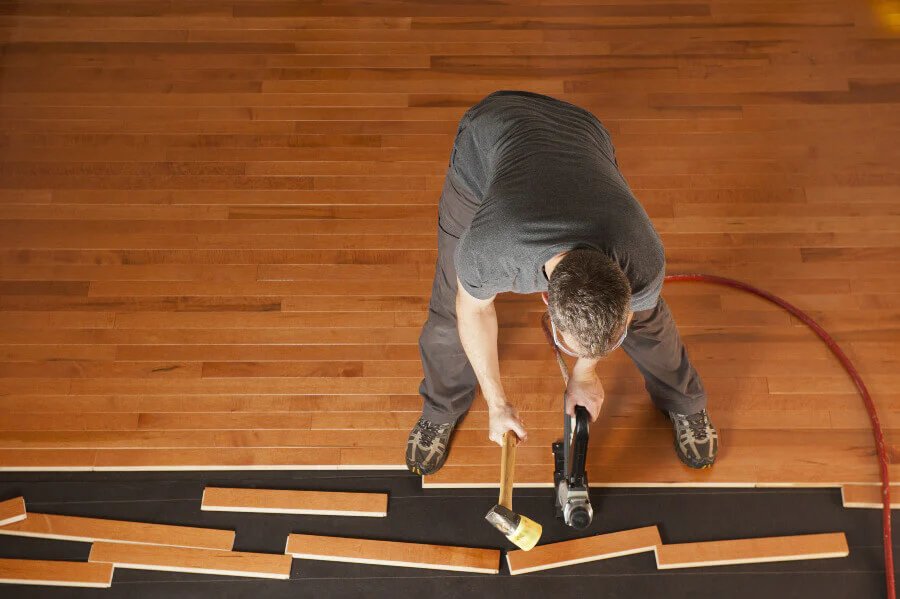
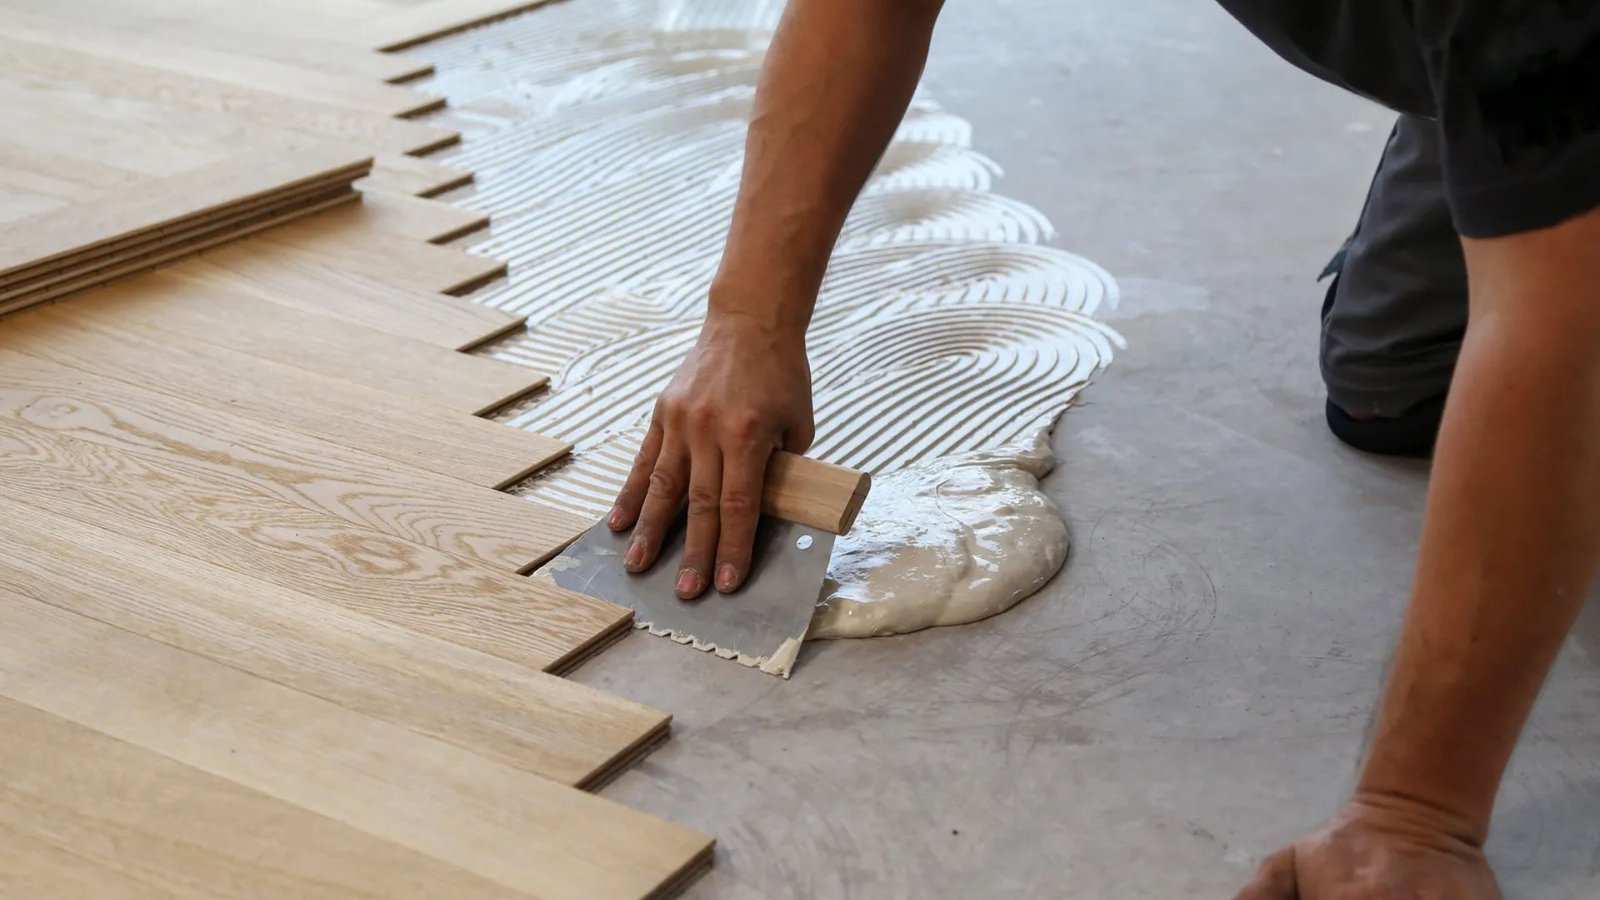
6. Start Installing the Hardwood Flooring
Begin installing the hardwood planks along the reference line, working your way across the room. Use spacers to maintain the expansion gap between the planks and the walls. If you’re using a nail-down method, hammer the nails into the tongue of each plank at a 45-degree angle. Alternatively, use a flooring nailer to secure the planks to the subfloor.
Tip: Stagger the seams of the planks to create a more natural look and prevent the seams from lining up.
7. Cut the Planks to Fit
You’ll likely need to cut the hardwood planks to fit along the edges of the room. Use a miter saw or circular saw to cut the planks to the required length. For areas around obstacles, such as door frames or vents, use a jigsaw to make precise cuts.
Tip: When cutting planks, always measure twice and cut once to ensure accuracy.
8. Install the Final Row of Planks
The final row of planks may need to be trimmed lengthwise to fit the space. Measure the width of the last row, and cut the planks accordingly. If needed, use a tapping block and mallet to gently tap the last row into place. Be sure to leave a small gap between the last row and the wall for expansion.
Tip: If you’re installing hardwood in a large room, consider leaving a gap between the planks for better air circulation during installation.
9. Sand and Finish the Floor
Once all the planks are installed, you may need to sand the floor to smooth out any uneven areas and remove any rough spots. After sanding, apply a protective finish to enhance the wood’s appearance and durability. You can choose from different finishes, such as polyurethane or oil-based finishes, depending on the look and level of protection you want.
Tip: Make sure to allow the finish to dry completely before walking on the floor.
10. Clean and Maintain Your Hardwood Flooring
After installation, it’s important to regularly clean and maintain your hardwood flooring to keep it looking great. Sweep or vacuum the floor regularly to remove dirt and debris. Use a damp mop with a hardwood floor cleaner to clean the surface, but avoid excessive water, as it can damage the wood. Consider placing rugs or mats in high-traffic areas to protect the floor from wear and tear.
Tip: Use felt pads under furniture to prevent scratches and dents.
Conclusion
Installing hardwood flooring can be a rewarding and worthwhile project that adds beauty and value to your home. By following these tips and taking your time to prepare and install the flooring correctly, you can achieve professional-looking results. Remember to plan your layout, use the right tools, and care for your floor to ensure it lasts for many years to come.