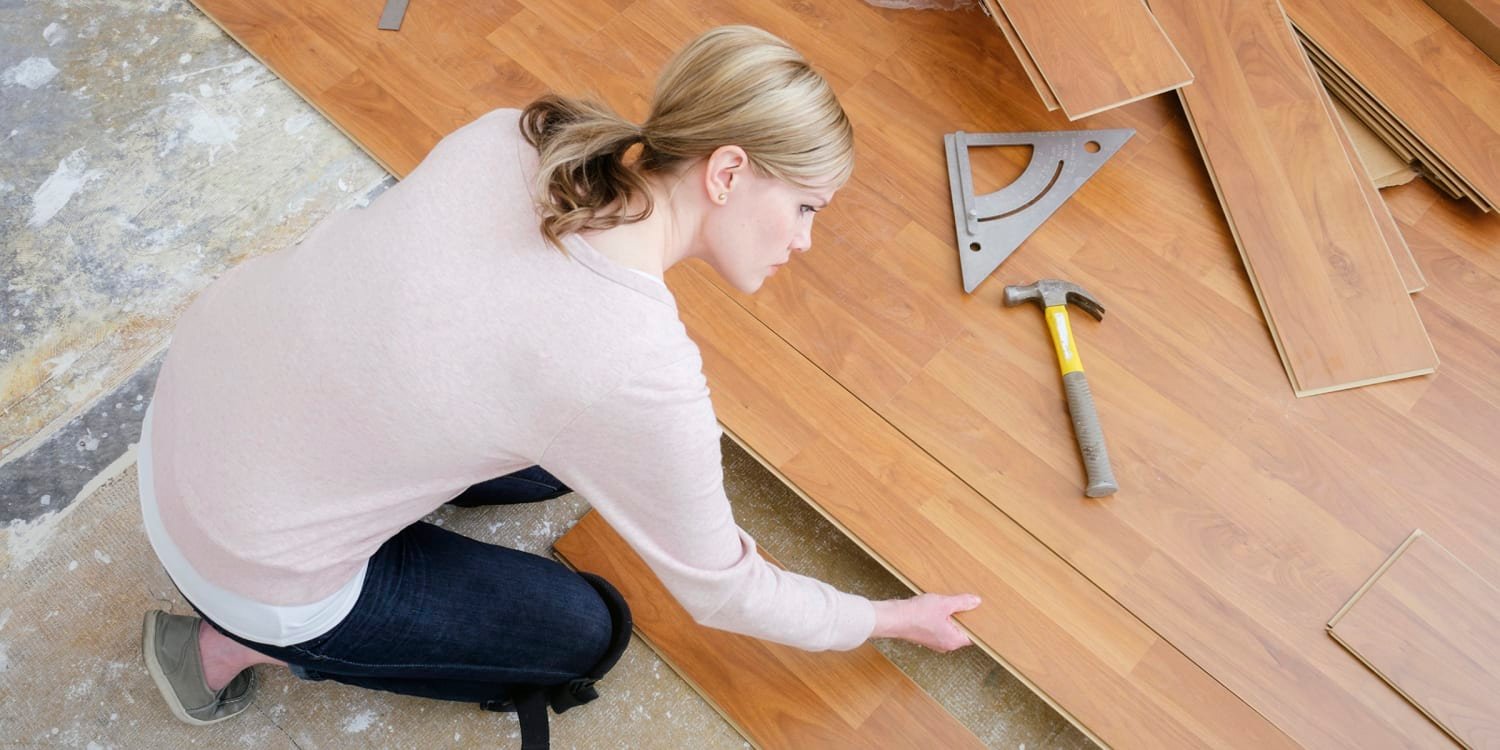


Installing new flooring on your own is a great way to save money and customize your space. Whether you’re tackling hardwood, laminate, tile, or vinyl, the right tools will make your DIY flooring installation smoother, faster, and more professional. Here’s a list of the best tools you’ll need to achieve great results in your flooring project.
1. Measuring Tape
Accurate measurements are essential to ensuring that your flooring fits perfectly. A good measuring tape will help you plan and cut your flooring to the right size.
- Key Features: A retractable tape with clear markings, a durable casing, and a locking mechanism to keep the tape in place while you measure.
- Tip: Measure twice and cut once to avoid mistakes and waste.
2. Utility Knife
A utility knife is an indispensable tool for cutting flooring materials like vinyl, laminate, and carpet. It provides precision and control for straight cuts and trimming.
- Key Features: A sharp, retractable blade and ergonomic handle for comfort during extended use.
- Tip: Always replace the blade when it becomes dull to ensure clean, easy cuts.
3. Miter Saw (For Hardwood and Laminate)
If you’re installing hardwood or laminate flooring, a miter saw is essential for cutting planks to the right length and making angled cuts. This tool is especially useful for trimming flooring to fit around corners or edges.
- Key Features: Adjustable angles, sharp blades, and a dust collection system to keep the work area clean.
- Tip: Wear safety goggles and ear protection, as miter saws can be loud and produce flying debris.
4. Flooring Adhesive Applicator (For Vinyl or Tile)
For installing vinyl or tile flooring, an adhesive applicator is a must. It helps spread the glue evenly on the floor and ensures a secure bond between the flooring and the subfloor.
- Key Features: A trowel with teeth for spreading adhesive evenly, and a comfortable handle for ease of use.
- Tip: Use a notched trowel for tile and vinyl installations to create the right adhesive pattern.
5. Rubber Mallet
A rubber mallet is perfect for tapping your flooring into place without damaging the surface. It helps ensure that the planks or tiles fit snugly together.
- Key Features: A non-marring, soft rubber head that won’t leave dents or scratches on your flooring.
- Tip: Use the mallet to tap down edges and help joints fit tightly together during installation.
6. Spacers (For Laminate and Hardwood)
Spacers are necessary when installing laminate or hardwood floors. These small plastic pieces create a gap between the wall and the flooring, allowing for expansion and contraction as the floor acclimates to temperature and humidity changes.
- Key Features: Adjustable spacers that provide precise gaps to ensure proper floor expansion.
- Tip: Don’t forget to remove the spacers once the floor is installed and before adding trim or baseboards.
7. Tile Cutter (For Ceramic or Porcelain Tile)
If you’re installing ceramic or porcelain tiles, a tile cutter is essential for making straight cuts. It’s much easier and more precise than trying to use a regular saw for tile work.
- Key Features: A manual tile cutter with a score wheel for making clean cuts and a lever to break tiles along the scored line.
- Tip: For complex cuts, such as around outlets or curves, consider using a wet saw.
8. Laser Level
A laser level helps ensure that your floors are perfectly level and aligned. It’s especially helpful for large flooring projects where precision is key to achieving a polished, professional look.
- Key Features: Horizontal and vertical laser lines for measuring levelness, with adjustable settings for different project heights.
- Tip: Use the laser level to check the floor’s level before you start laying down your first piece of flooring.
9. Jigsaw (For Detailed Cuts)
If your flooring project requires intricate cuts around obstacles like pipes, vents, or corners, a jigsaw is the best tool for the job. It allows for precise, curved, or irregular cuts with ease.
- Key Features: A saw with interchangeable blades for different materials and the ability to cut in multiple directions.
- Tip: Use a fine-tooth blade for laminate and vinyl to prevent damage or tearing.
10. Flooring Pull Bar (For Laminate and Hardwood)
A flooring pull bar is useful for clicking laminate or hardwood planks together, especially in tight spaces where a mallet might not fit. It helps you pull the planks together to create tight seams.
- Key Features: A metal tool with a flat edge that helps you apply even pressure along the seams.
- Tip: Use the pull bar carefully to avoid damaging the edges of the planks.
11. Tapping Block (For Laminate and Hardwood)
A tapping block is another great tool for joining laminate or hardwood flooring planks without damaging the edges. It provides a safe way to tap the planks into place.
- Key Features: A hard wood block that prevents damage to the tongue-and-groove joint of laminate or hardwood floors.
- Tip: Place the tapping block on the edge of the plank to distribute the force evenly and prevent breakage.
12. Knee Pads
Flooring installation can be hard on your knees, especially if you’re working on a large area. Knee pads are essential for protecting your knees from the hard surface and ensuring comfort during the installation process.
- Key Features: Padded, adjustable straps for a secure fit and comfort during long periods of kneeling.
- Tip: Look for knee pads with non-slip material to prevent them from sliding off during use.
13. Sponge or Mop (For Clean-Up)
After installing your flooring, you’ll need to clean up any adhesive residue, dust, or debris. A mop or sponge is perfect for wiping down the surface to keep your floors looking spotless.
- Key Features: Soft, absorbent materials for cleaning up without scratching your new floors.
- Tip: Use a gentle cleaning solution and avoid harsh chemicals that can damage your new flooring.
14. Floor Roller (For Vinyl or Carpet)
A floor roller helps to press your vinyl or carpet flooring down firmly, ensuring it sticks to the subfloor and remains smooth without bubbles or wrinkles.
- Key Features: A heavy roller with a comfortable handle, ideal for evenly pressing down large surfaces of vinyl or carpet.
- Tip: Use the roller in a back-and-forth motion to make sure the adhesive bonds fully with the subfloor.
Conclusion
DIY flooring installation is a rewarding project, and having the right tools can make the job much easier and more efficient. From measuring tapes and utility knives to rubber mallets and laser levels, these essential tools will help you achieve a professional-looking result. By ensuring you have everything you need, you’ll be ready to tackle your flooring project with confidence and skill. Whether you’re installing vinyl, tile, laminate, or hardwood, the right tools are key to a successful DIY flooring installation.