When taking on a home improvement project, having the right tools for DIY flooring installation is essential for success. Whether you’re installing hardwood, laminate, vinyl, or tile, the proper tools will make the job easier and more efficient. In this article, we’ll discuss the top tools you need for a successful flooring installation, making sure you understand how each one can help you achieve great results.
1. Measuring Tape
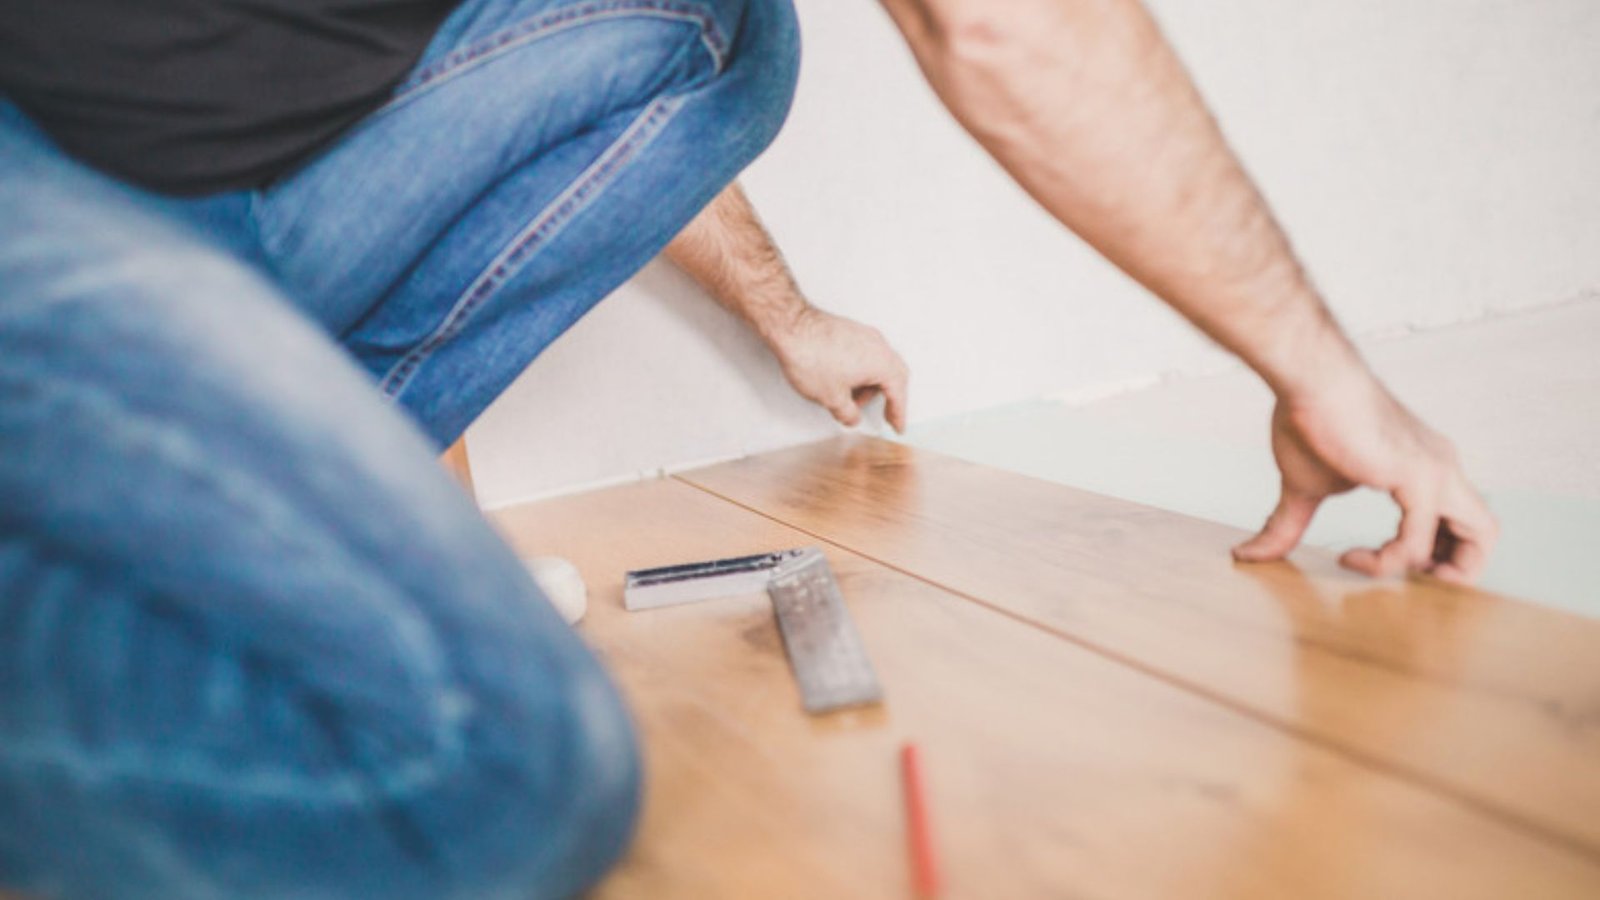
A reliable measuring tape is one of the most crucial tools for DIY flooring installation. Accurate measurements are vital when planning your flooring layout. Use the measuring tape to determine the dimensions of the room and calculate how much flooring material you will need. It’s important to measure multiple times to avoid mistakes, which can lead to waste and extra costs.
2. Utility Knife
A utility knife is another essential tool for cutting flooring materials. This versatile tool can handle various types of flooring, including vinyl and carpet. When working with laminate or hardwood, a utility knife can be used to score the planks for easier snapping. Make sure to have a sharp blade for clean cuts, as this will improve the overall look of your finished flooring.
3. Tapping Block and Pull Bar
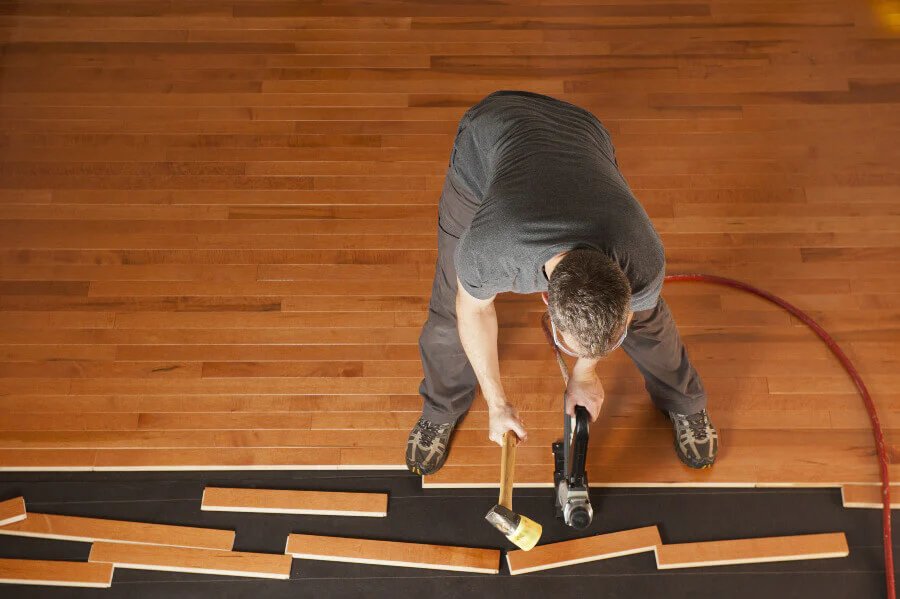
When installing flooring, especially laminate, you’ll need a tapping block and pull bar. These tools for DIY flooring installation help ensure that the planks fit tightly together without damaging their edges. The tapping block is used to tap the planks into place gently, while the pull bar helps to draw the last plank snugly against the previous one. Using these tools will result in a professional-looking finish.
4. Floor Leveling Tool
Before installing new flooring, it’s essential to have a level surface. A floor leveling tool, such as a level or a self-leveling compound, helps you identify any uneven areas. This step is crucial because installing flooring over an uneven surface can lead to problems down the line, such as creaking or warping. Take the time to level the floor before proceeding with the installation.
5. Power Drill
A power drill is a versatile tool that can help with various aspects of flooring installation. Whether you’re fastening down underlayment or securing floorboards, a power drill will save you time and effort compared to manual methods. Make sure to have the correct drill bits for your specific flooring type. A cordless power drill can offer even more convenience, allowing you to move freely around the room.
6. Jigsaw
For intricate cuts, such as those around door frames or vents, a jigsaw is an invaluable tool. This saw allows you to make precise cuts in various flooring materials, including tile, laminate, and hardwood. When using a jigsaw, always choose the right blade for the material to ensure a clean cut. With this tool, you can achieve a professional finish in areas that require custom fitting.
7. Flooring Roller
A flooring roller is particularly important for installing vinyl or linoleum flooring. This tool helps to ensure that the flooring adheres properly to the subfloor by applying even pressure. Rolling out the flooring will eliminate air bubbles and create a smooth, flat surface. This step is crucial for preventing future damage and ensuring the longevity of your new flooring.
8. Knee Pads
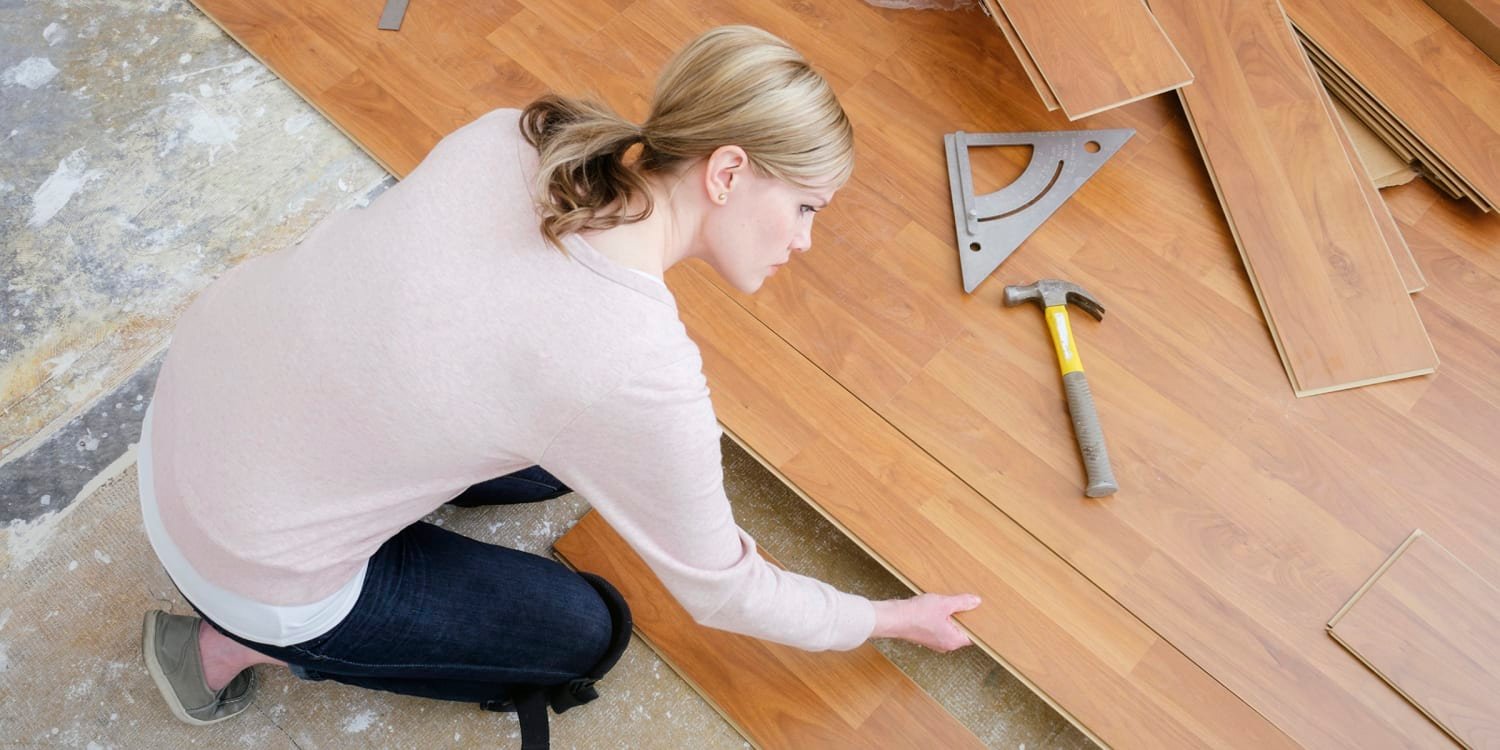
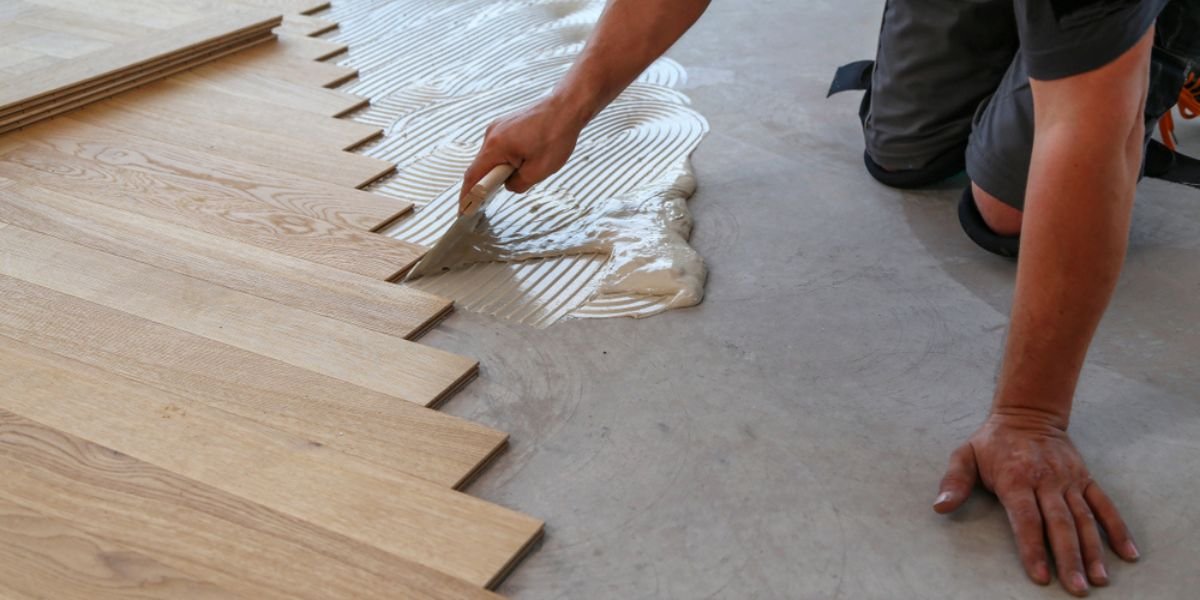
When installing flooring, you will likely spend a lot of time on your knees. Investing in a good pair of knee pads will make the job much more comfortable. These pads will protect your knees from the hard surface, allowing you to work longer without discomfort. Comfort is key when undertaking a DIY project, and knee pads are a simple yet effective solution.
9. Claw Hammer
A claw hammer is a must-have tool for any flooring installation project. This tool is perfect for driving nails into the flooring and for prying up any old flooring materials. Whether you are removing old carpet or securing new floorboards, a claw hammer is versatile and effective. It’s also useful for making adjustments to your installation as needed.
10. Safety Gear
Finally, don’t forget to wear the appropriate safety gear. Safety goggles, gloves, and a dust mask should be part of your DIY flooring installation toolkit. These items protect you from dust, debris, and any sharp edges that you might encounter while working. Safety should always be a priority when tackling home improvement projects.
Conclusion
Having the right tools for DIY flooring installation can make the process smoother and more enjoyable. From measuring tapes to knee pads, each tool plays a significant role in achieving a professional finish. Before starting your flooring project, ensure you have gathered all the necessary tools, so you can focus on creating a beautiful space in your home. With the right preparation and equipment, you can confidently install your new flooring and enjoy the satisfaction of a job well done.
